22 Older Kitchen Refresh Ideas for a Stunning Reset
Your kitchen doesn’t need a full remodel to feel fresh again. If scratched counters, dull cabinets, and crowded corners are getting on your nerves, these older kitchen refresh ideas can help you make meaningful changes without draining your savings.
Inside, you’ll find 22 approachable updates, from cabinet paint and new pulls to cozy lighting, smarter storage, and thoughtful finishing touches. Some take only an afternoon; others make a fun weekend project.
Focus on the parts you notice every day, like the sink area or the counter where you make coffee. A little preparation matters too: clean surfaces well, measure before buying, and test colors in your own light. Pick the first upgrade that fits your time, budget, and comfort level, then let the room come together one small win at a time.
1. Painted Cabinet Fronts

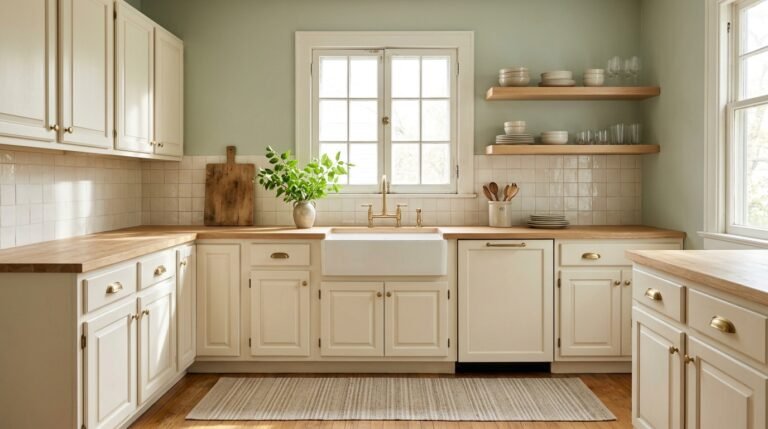
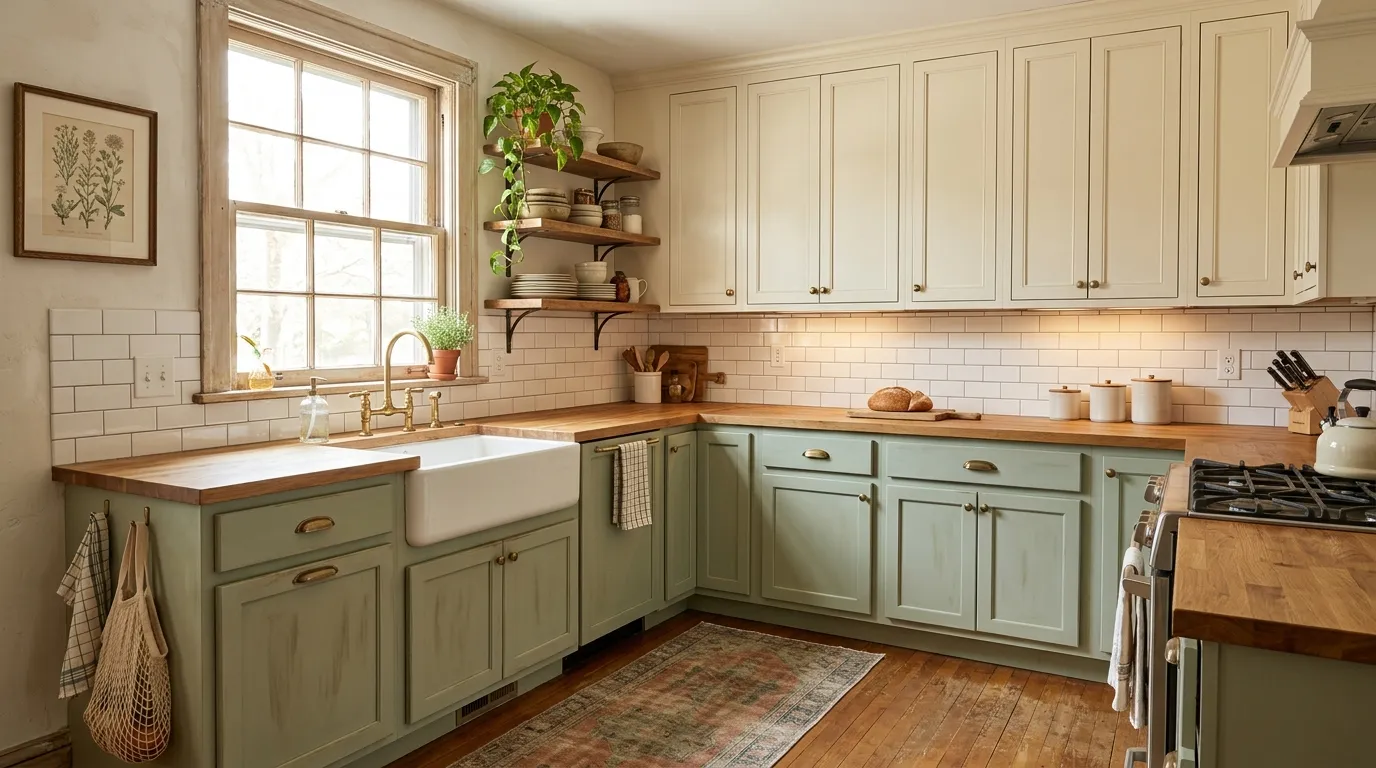
A fresh cabinet color can change the entire kitchen without replacing a single cabinet box. Start by removing the doors and hardware, then clean away cooking grease with a suitable degreaser. Lightly sand glossy surfaces, apply a bonding primer, and choose durable cabinet paint in soft cream, sage, or muted blue.
Before committing, test a swatch beside your countertops in morning and evening light. Older kitchens often have warm flooring that can make bright white feel harsh. A softer shade creates balance, while a satin finish handles routine wiping better than flat paint. Allow proper curing before reattaching hardware.
2. Modern Cabinet Hardware
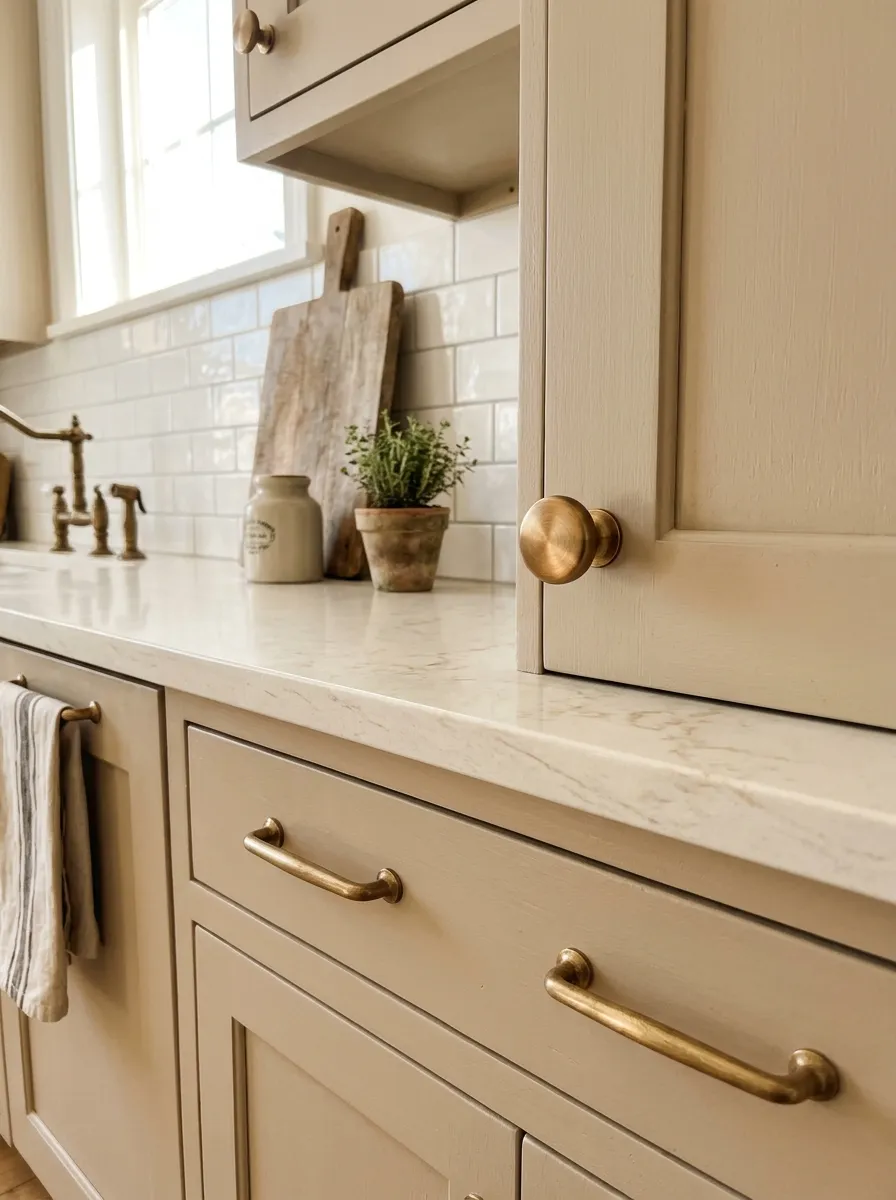
- Tiny handles can date an entire kitchen, so start with the most noticeable cabinet doors and drawers.
- Measure existing screw hole spacing before shopping. Matching measurements saves unnecessary drilling and patching.
- Choose simple brass pulls for warmth or matte black handles for a clean, modern contrast.
- Test one handle against your cabinet color and faucet finish in daylight before purchasing the complete set.
- Keep original hardware in a labeled bag if you rent or plan to restore the kitchen later.
Replacing cabinet hardware is one of the quickest older kitchen refresh ideas for a tight budget. Prioritize handles you touch every day, especially around the sink and preparation area. If old hardware has left visible marks, clean and touch up the paint first so the new pieces sit against a tidy surface.
3. Peel and Stick Backsplash

Quick Tip:
A tired backsplash can make freshly cleaned counters feel dull. Choose peel and stick tiles specifically rated for kitchen use, and check the manufacturer’s installation guidelines for heat exposure, moisture resistance, and suitable wall surfaces.
Clean and fully dry the wall before applying a test tile in a less visible spot. Use a level to establish your first row, then press each piece down carefully to prevent gaps. For renters, check removal instructions and lease requirements because some adhesive products can damage existing finishes.
4. Warm Neutral Walls
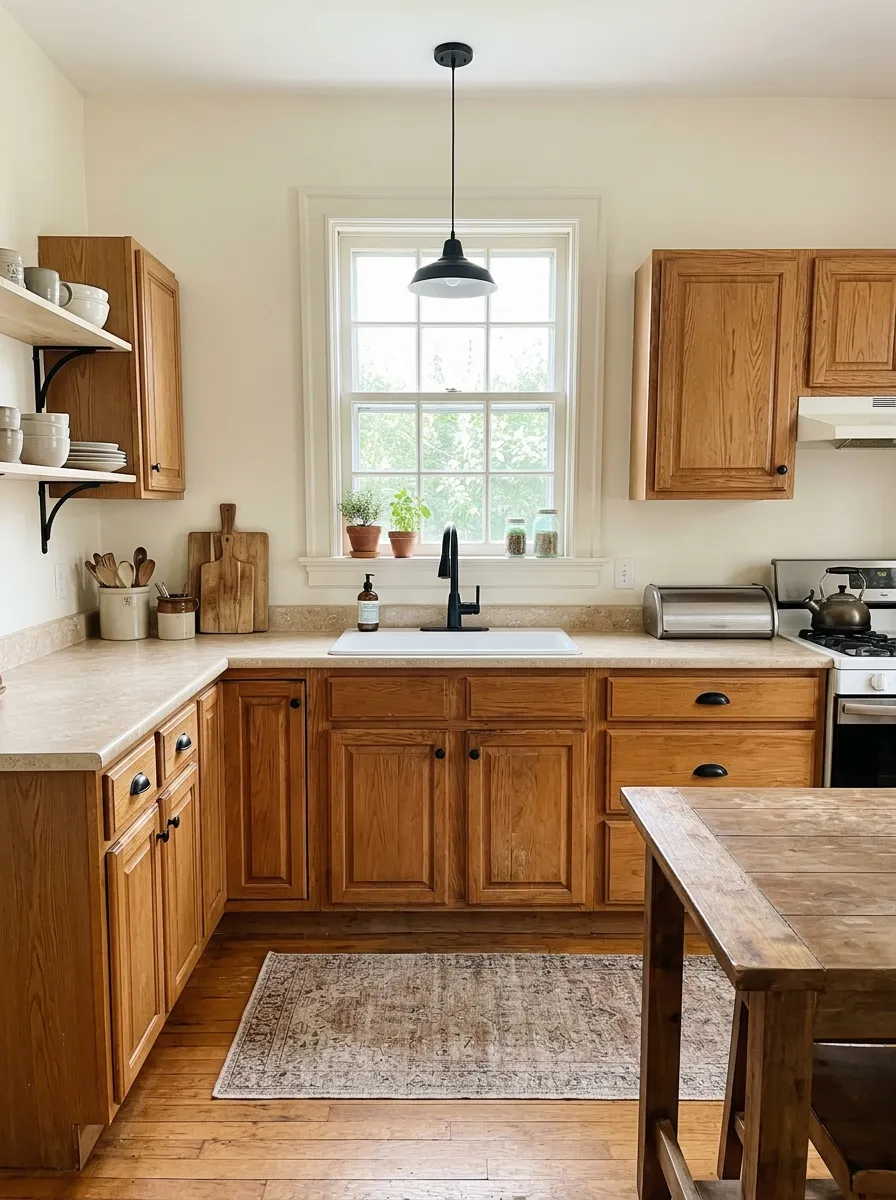
BEFORE:
Yellowed walls can make even clean cabinets look tired. Old paint often shows cooking stains, patchy touch-ups, and discoloration behind appliances.
AFTER:
Warm ivory paint brightens the backdrop without clashing with existing wood tones. A consistent eggshell finish makes the kitchen feel cleaner, softer, and more welcoming.
Choose washable interior paint suitable for kitchens, and test samples beside your cabinets before buying a gallon. Clean grease from walls, repair small holes, and prime stained areas first. Warm greige complements orange-toned oak, while creamy white works beautifully with darker cabinets. Keep trim slightly brighter for subtle definition.
5. Open Corner Shelves

1. Choose a Corner: An unused kitchen corner can become a practical display spot. Select a wall area away from excessive heat and cooking splashes.
2. Measure the Space: Determine your preferred shelf width and depth. Leave enough clearance for tall dishes and everyday kitchen activities.
3. Install Secure Supports: Locate wall studs and use brackets or anchors rated for the expected weight. Check that each shelf sits level.
4. Style with Essentials: Arrange matching bowls, glass jars, and frequently used mugs. Leave some empty space between objects for a cleaner appearance.
Open shelves help older kitchens feel less crowded while keeping everyday essentials within reach. Natural wood adds warmth, especially alongside painted cabinets and simple countertops. Avoid displaying too many small decorations because they collect dust and cooking grease. Choose practical pieces that look attractive even when regularly used.
6. Under Cabinet Lighting

| Feature | Old Setup | Refreshed Setup |
| Countertop visibility | Shadows beneath cabinets | Focused illumination |
| Evening atmosphere | Harsh overhead lighting | Soft, layered lighting |
| Food preparation | Limited task visibility | Better visibility for chopping |
| Installation | Existing ceiling fixture only | Adhesive or mounted LED strips |
| Energy use | Overhead lights for small tasks | Efficient LED task lighting |
Even familiar kitchens feel different when work surfaces are properly illuminated. Choose warm white LEDs around 2700K to 3000K for a cozy appearance, or neutral white for clearer task lighting. Battery-powered lights suit renters, while plug-in strips offer convenient everyday use. Hide visible cords and follow the manufacturer’s electrical safety instructions.
7. Countertop Vinyl Wrap

DO:
- Give scratched laminate a cleaner appearance with quality countertop-rated adhesive film.
- Degrease, dry, and smooth the surface before applying the film.
- Use a squeegee to press out bubbles from the center outward.
- Follow manufacturer instructions for protecting exposed edges.
DON’T:
- Cover loose laminate or water-damaged sections without repairing them.
- Place hot pans directly on adhesive film.
- Allow standing water to collect around seams or the sink.
- Assume removable film will lift without leaving residue.
Countertop film works best as a cosmetic update on flat, sound laminate, not as a repair for damaged surfaces. Order a small sample before buying a full roll, and inspect it in natural light. For busy kitchens, keep a trivet and cutting board nearby to protect the finish.
8. Single Handle Faucet

Cost: Moderate, depending on faucet quality and installation.
Time: A few hours for a straightforward compatible replacement.
Skill Level: Confident DIYer or professional plumber.
Best For: Kitchens with dated, leaking, or difficult-to-clean faucets.
An outdated faucet often draws attention because it sits at the center of the sink area. Before buying, check your existing mounting holes, water-line connections, and clearance behind the spout. If shutoff valves leak or plumbing looks corroded, ask a licensed plumber to handle the swap.
9. Soft Cafe Curtains
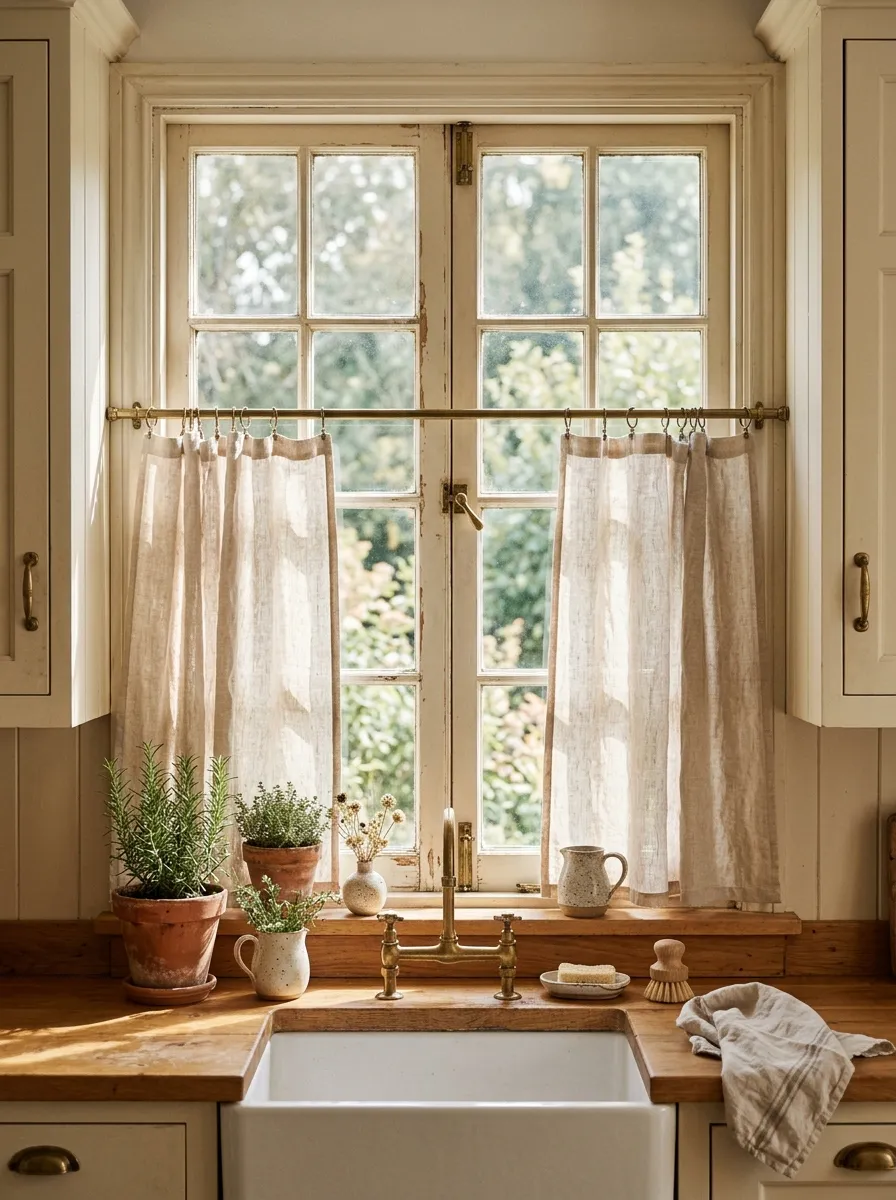
A bare or outdated kitchen window can make the whole room feel unfinished, even after a thorough clean. Cafe curtains soften that hard edge while leaving the upper glass open for daylight. Choose washable cotton or linen-blend fabric in oatmeal, faded checks, or narrow blue stripes for an easy vintage-inspired update.
Mount the rod inside the window frame where possible, keeping fabric clear of faucets, burners, and splashing water. Short panels are easier to wash than long drapes and let windowsills stay useful for herbs. Match the curtain tone to your walls instead of introducing another competing accent color.
10. Vintage Kitchen Runner

- Cold, bare kitchen floors can make an older space feel unfinished, but a patterned runner adds instant warmth and character.
- Choose washable, low-pile rugs in faded terracotta, sage green, or muted navy to complement existing cabinets.
- Measure the walkway carefully, leaving enough exposed flooring around the edges for a balanced appearance.
- Place a nonslip rug pad underneath to prevent sliding during cooking and cleaning.
- Look for vintage-inspired Persian or geometric patterns that help disguise everyday crumbs and minor stains.
A thoughtfully chosen runner brings color and softness into kitchens dominated by wood cabinets and plain countertops. Machine-washable options make maintenance easier, especially in busy family homes. Keep the rug away from open flames and ensure its edges lie flat to reduce tripping hazards in narrow walkways.
11. Brightened Grout Lines
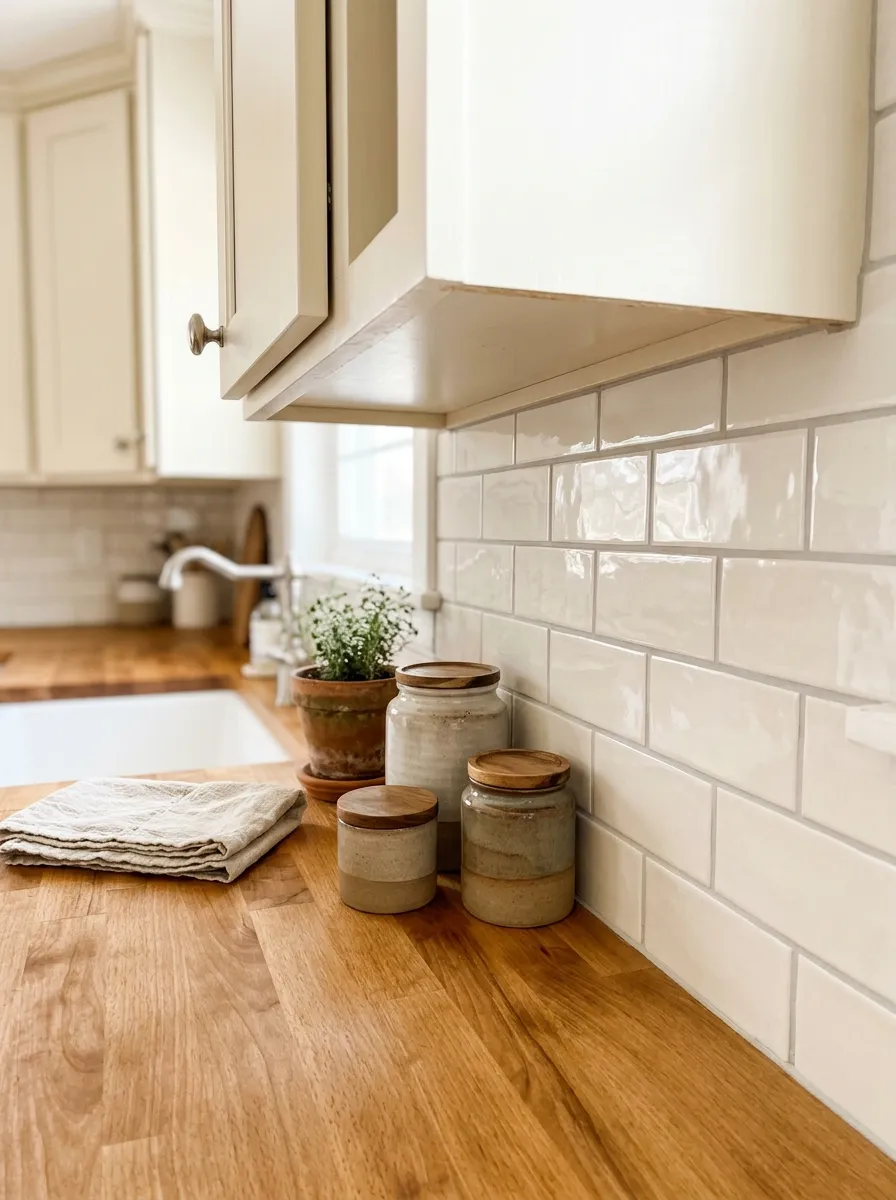
Quick Tip:
Dark, stained grout can make otherwise attractive backsplash tiles look years older. Start with a grout-safe cleaner and soft brush, then consider a grout colorant designed for the existing grout type if discoloration remains after cleaning.
Refreshing grout lines is a budget-friendly way to improve the appearance of an older kitchen without replacing tiles. Test cleaning products in a hidden area and avoid harsh acids on natural stone. Repair cracked or missing grout before applying colorant, and follow drying instructions for a consistent finish.
12. Organized Countertop Stations

BEFORE:
Crowded countertops make an older kitchen feel smaller and harder to clean. Coffee supplies, cooking utensils, mail, and appliances compete for limited preparation space.
AFTER:
Dedicated countertop stations create a more functional layout with fewer scattered objects. A wooden tray groups coffee essentials, while cooking oils and utensils stay neatly arranged near the preparation area.
Start by removing everything from the counters and sorting items according to daily use. Store occasional appliances inside cabinets, then create two practical zones for cooking and beverages. Leave a generous clear surface for food preparation. Matching containers provide visual consistency without requiring expensive organizers or new cabinetry.
13. Wooden Drawer Organizers

1. Empty the Drawers: Overcrowded drawers make everyday cooking frustrating. Remove everything and separate frequently used utensils from unnecessary duplicates.
2. Measure the Interior: Check drawer width, depth, and height before purchasing organizers. Choose adjustable bamboo dividers for a flexible fit.
3. Create Storage Zones: Group cutlery, cooking tools, measuring spoons, and smaller accessories into separate compartments.
4. Arrange Daily Essentials: Keep frequently used items near the front and move occasional tools toward the back.
Wooden drawer organizers help older kitchens feel more functional without replacing existing cabinetry. Bamboo inserts bring a warm, natural appearance that complements traditional wood finishes. Select removable organizers for easier cleaning, and avoid overcrowding compartments. A little empty space makes it much easier to find utensils during busy meal preparation.
14. Cozy Breakfast Nook
| Feature | Before Refresh | After Refresh |
| Seating | Mismatched, worn chairs | Coordinated chairs with soft cushions |
| Table | Scratched, bulky furniture | Compact refinished wooden table |
| Lighting | Harsh overhead fixture | Warm pendant or wall lighting |
| Decor | Cluttered tabletop | Simple vase and woven placemats |
| Atmosphere | Dark, crowded corner | Bright, inviting breakfast space |
An overlooked dining corner can become the most welcoming part of an older kitchen. Refinish an existing table instead of replacing it, then add washable seat cushions and simple wall art. Keep furniture proportional to the available space, ensuring chairs can move comfortably without blocking nearby cabinets or walkways.
15. Updated Ceiling Fixture

DO:
- Replace a dated ceiling fixture with a design that complements your kitchen cabinets.
- Choose warm white LED bulbs for comfortable everyday illumination.
- Measure ceiling clearance before selecting a pendant or semi-flush fixture.
- Select moisture-appropriate fixtures where kitchen conditions require them.
DON’T:
- Install oversized pendant lights in narrow kitchens with low ceilings.
- Mix too many competing metallic finishes.
- Choose decorative fixtures that leave preparation areas poorly illuminated.
- Attempt electrical wiring without the required skills or safety precautions.
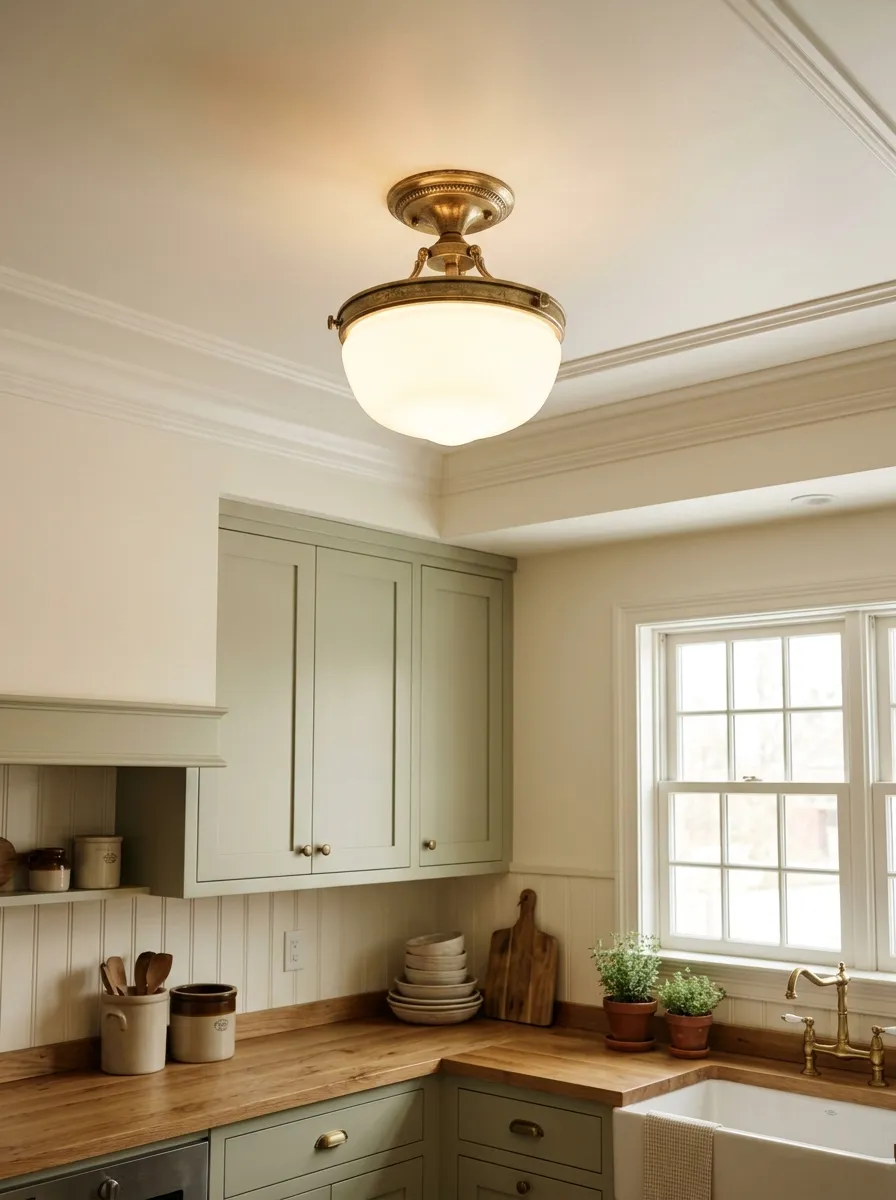
A new ceiling fixture can make an older kitchen feel more polished without changing the overall layout. Frosted glass shades provide softer illumination, while brass or matte black finishes introduce character. For hardwired replacements, hire a qualified electrician if you are unfamiliar with electrical installation or local requirements.
16. Decorative Cabinet Molding

Cost: Low to moderate, depending on molding material and length.
Time: One weekend for measuring, cutting, painting, and installation.
Skill Level: Intermediate DIY, especially when cutting corners.
Best For: Older kitchens with plain upper cabinets and unfinished cabinet tops.
Plain upper cabinets can look surprisingly polished with a simple molding upgrade. Choose lightweight trim that matches your existing cabinet style, and measure carefully before cutting. Paint the molding to match the cabinet finish for a built-in appearance. For uneven ceilings, use appropriate finishing techniques to create clean, consistent edges.
17. Kitchen Island Makeover
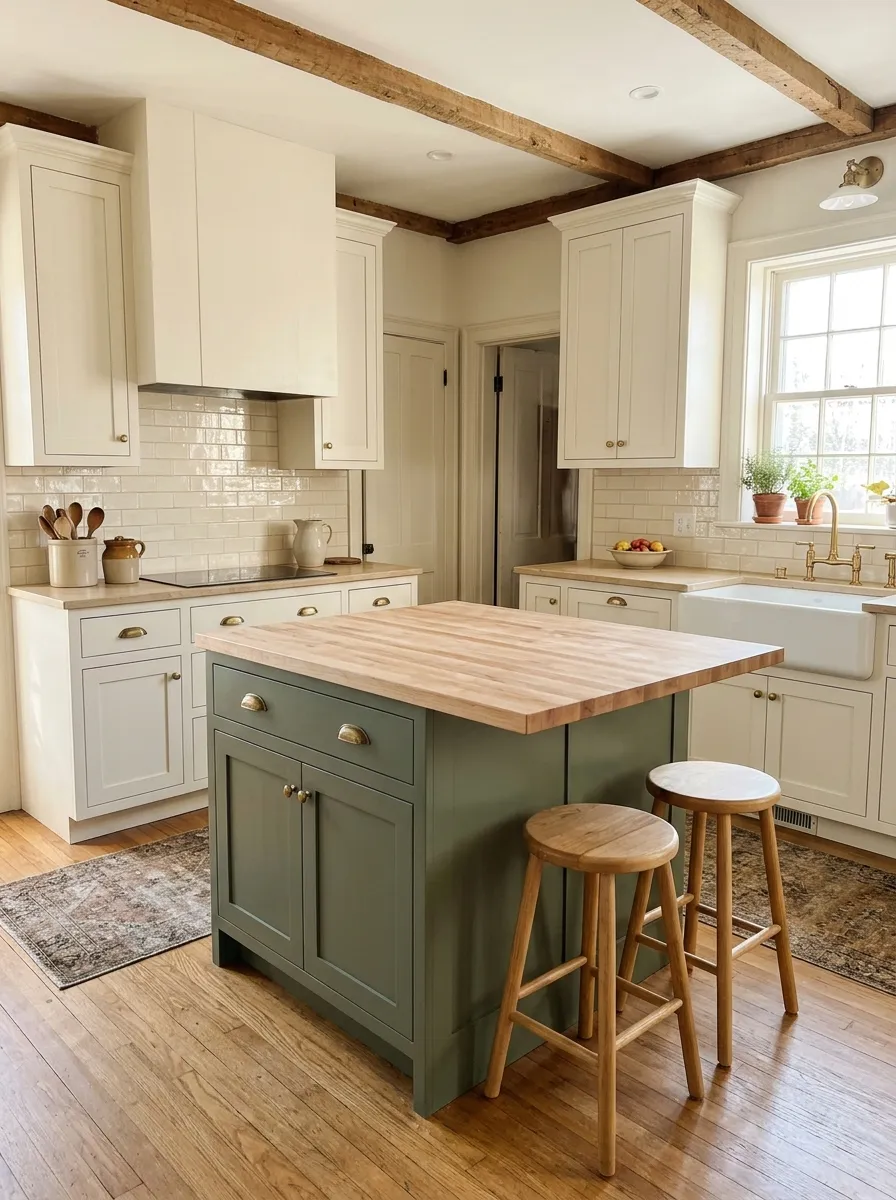
An aging kitchen island can look disconnected from otherwise refreshed cabinets, especially when its finish is scratched or the color feels too heavy. Paint the island muted olive or charcoal blue while keeping surrounding cabinets neutral. Sand, prime, and apply durable cabinet paint according to the manufacturer’s instructions for lasting coverage.
Replace worn knobs with simple brass pulls and consider comfortable seating if your island has sufficient clearance. If the existing countertop remains in good condition, keep it and focus on updating the base. Repeat the new island color in small accessories to create a coordinated look without additional renovation costs.
18. Painted Pantry Door

- A faded pantry door can make an otherwise tidy kitchen feel neglected. A fresh coat of paint creates a noticeable accent without changing the layout.
- Choose muted sage, dusty blue, or warm terracotta to complement existing cabinetry and flooring.
- Remove the handle, clean the surface thoroughly, and lightly sand glossy paint before applying a suitable primer.
- Apply two thin coats of durable trim paint, allowing proper drying time between applications.
- Finish with a coordinating handle or a simple brass knob for a polished appearance.
A painted pantry door is one of those older kitchen refresh ideas that works especially well in small spaces. It introduces personality without overwhelming existing finishes. Test your chosen color under different lighting conditions, and repeat it in subtle accessories for visual balance. Keep surrounding walls neutral to let the door stand out.
19. Glass Cabinet Inserts
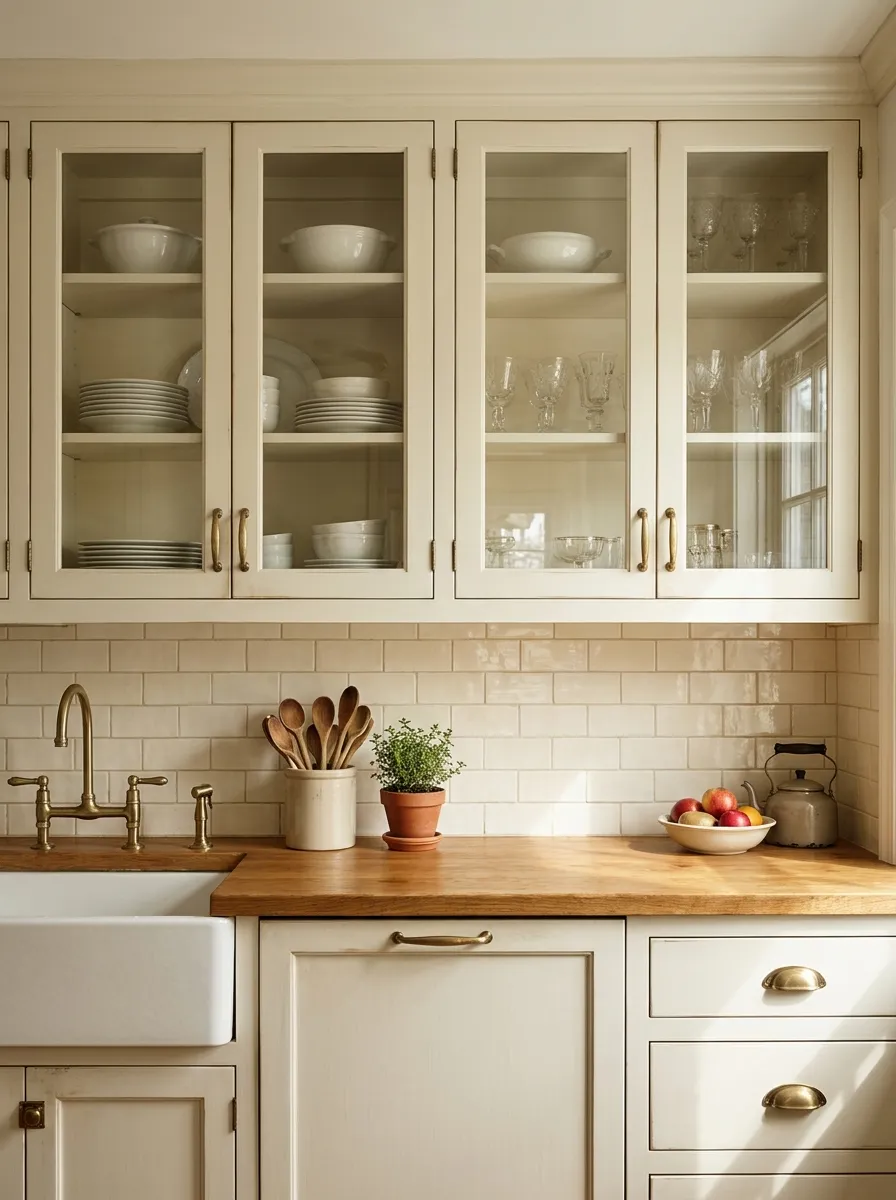
Quick Tip:
Solid cabinet doors can make a small kitchen feel visually heavy, especially when upper cabinets cover an entire wall. Consider replacing selected door panels with glass inserts, but first confirm that the existing door construction can safely accommodate this modification.
Glass-front cabinets introduce depth while allowing attractive dinnerware to become part of the kitchen decor. Choose clear glass for a traditional appearance or frosted glass to conceal everyday clutter. Keep displayed dishes coordinated in two or three colors, and consider professional installation for doors requiring precise cutting.
20. Refreshed Kitchen Flooring
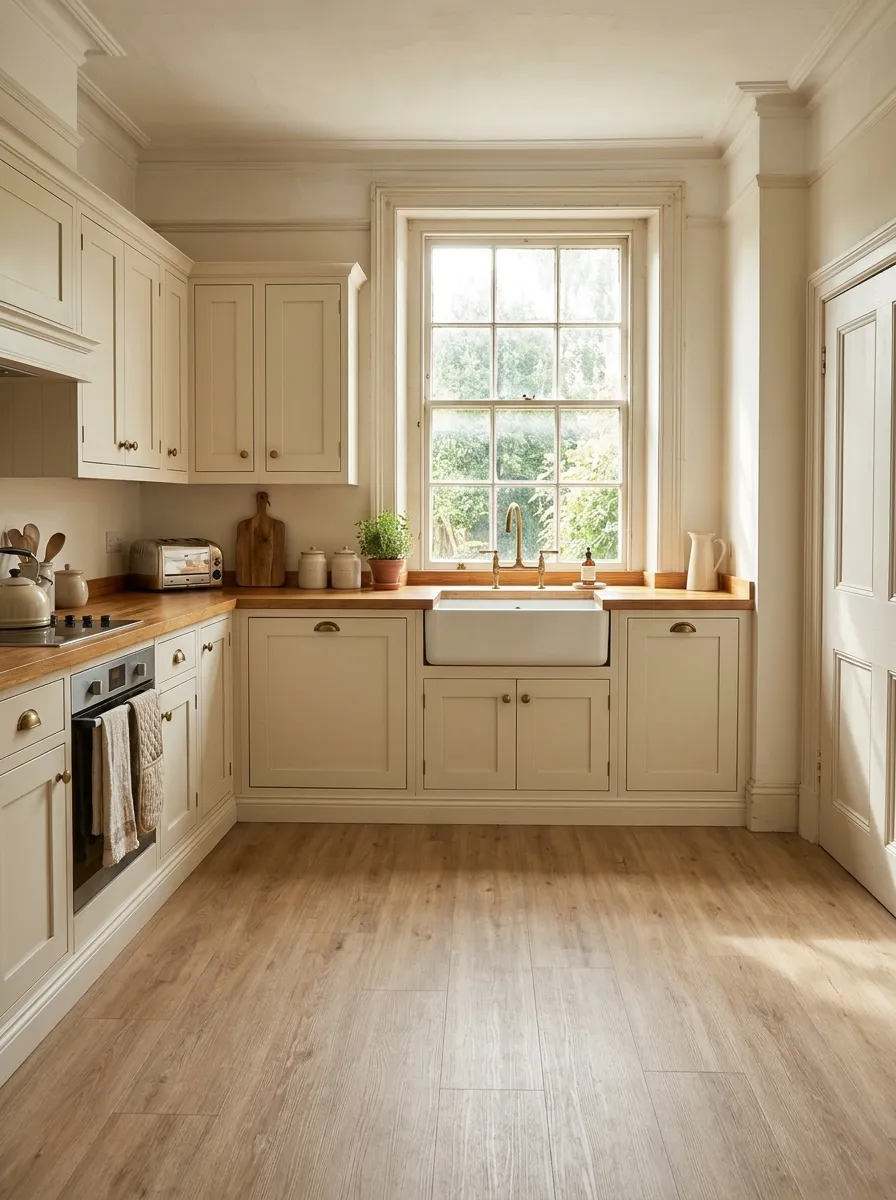
BEFORE:
Scratched vinyl, faded tiles, and stained flooring can make an otherwise clean kitchen look tired. Worn patterns often compete with existing cabinets and countertops.
AFTER:
Warm wood-look flooring creates a more consistent visual foundation. Soft beige and natural oak tones complement traditional cabinetry while making the room feel brighter and more coordinated.
Luxury vinyl plank flooring can be a practical option for older kitchens when the subfloor is dry, stable, and properly prepared. Choose products suitable for kitchen moisture exposure and follow installation requirements. Before covering existing flooring, check for damage and consider professional assessment of potentially asbestos-containing materials in older homes.
21. Matching Storage Canisters

1. Clear the Countertop: Scattered food packages can make even a spacious kitchen feel cluttered. Remove unnecessary containers and wipe down the surface.
2. Choose Coordinated Canisters: Select ceramic, glass, or stainless steel containers in matching finishes. Use food-safe options with suitable seals for dry ingredients.
3. Organize Everyday Ingredients: Store frequently used coffee, sugar, flour, or tea in appropriately sized containers. Label each canister clearly.
4. Create a Styled Grouping: Arrange two or three canisters beside a wooden cutting board or small tray. Leave enough clear space for food preparation.
Coordinated storage canisters bring order and subtle decoration to older kitchen countertops. Neutral ceramic designs work especially well with wood cabinets and vintage details. Avoid transferring ingredients without recording expiration dates or allergen information. Keep frequently used items accessible, while storing extra supplies inside cabinets to maintain a tidy appearance.
22. Vintage Kitchen Wall Art
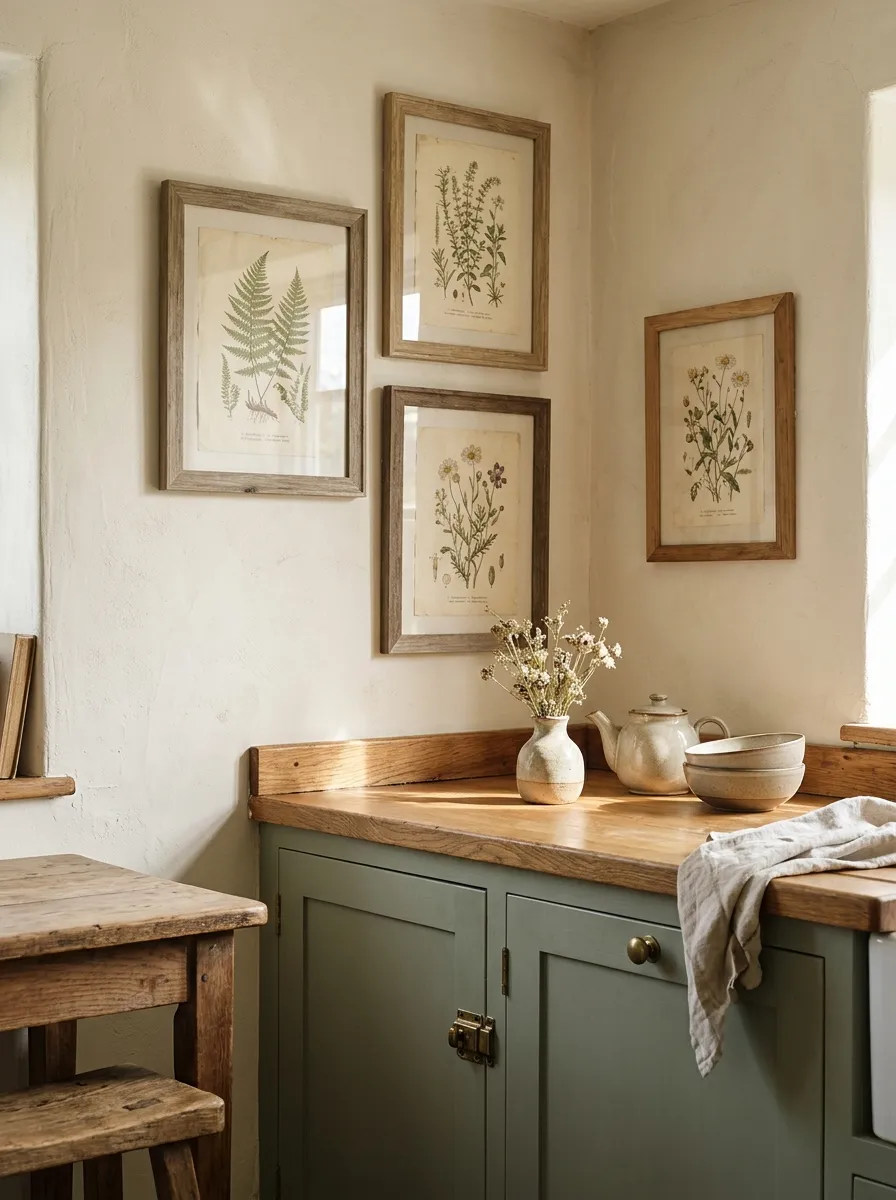
| Feature | Before Refresh | After Refresh |
| Wall Appearance | Empty or outdated decorations | Coordinated vintage framed prints |
| Color Palette | Mismatched colors | Soft sage, cream, and warm brown |
| Frame Style | Worn plastic frames | Natural wood or antique brass frames |
| Arrangement | Randomly placed artwork | Balanced gallery arrangement |
| Overall Feel | Plain and unfinished | Cozy, personal, and inviting |
Blank kitchen walls often make a refreshed space feel unfinished. Hang two or three coordinating vintage botanical or food-themed prints above a breakfast nook, away from cooking splashes. Choose lightweight frames with warm wood or antique brass finishes. Keep artwork aligned at eye level, and use removable hooks where suitable.
Conclusion
An older kitchen can feel inviting again without expensive demolition or a cart full of new appliances. The biggest shifts often come from a few intentional choices: brighter cabinet fronts, better lighting, tidier counters, or warm details that suit the room’s character.
Use these older kitchen refresh ideas as a starting point, not a checklist you have to finish all at once. Pick one change you can tackle this weekend, then see what the space needs next.
Save this post on Pinterest for later, and share it with a friend who wants a fresh kitchen on a realistic budget.