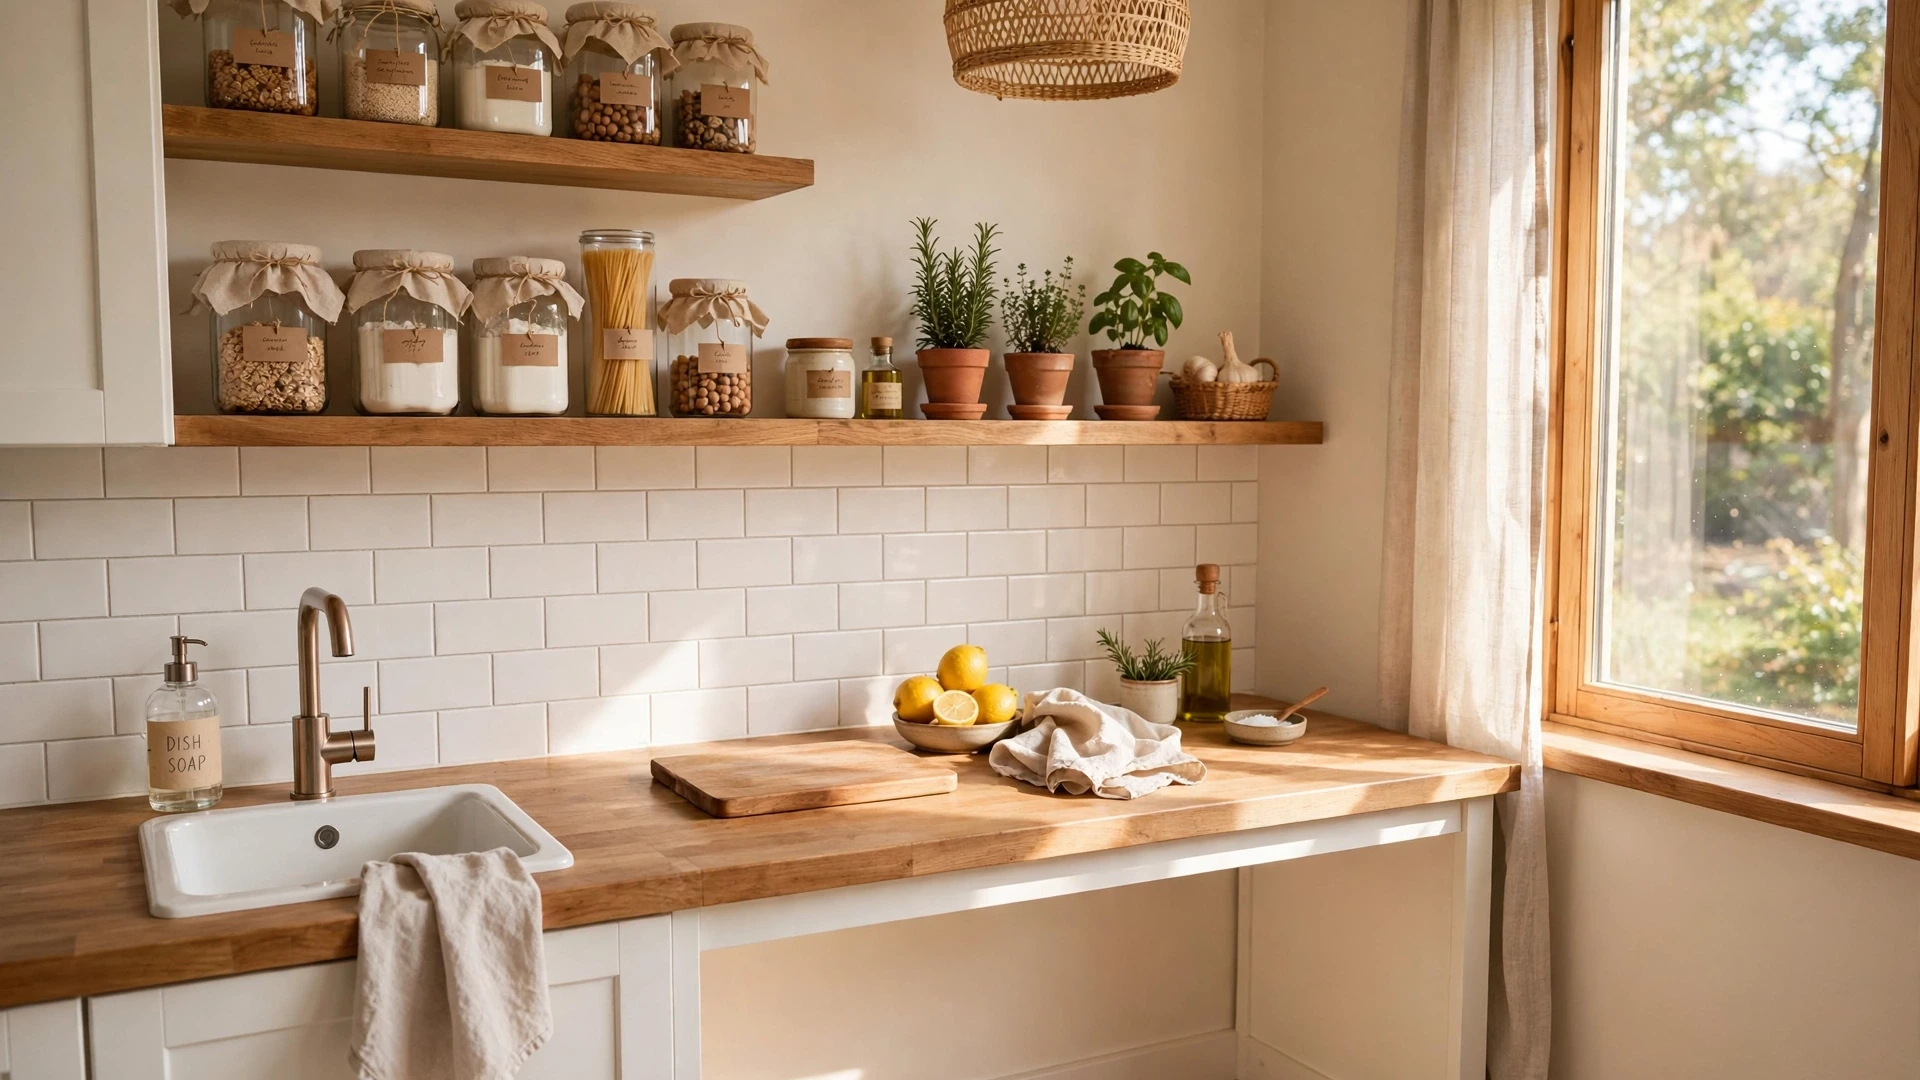
24 Small Kitchen Counter Ideas for Effortless Prep
If your counters feel crowded, you are not alone. These small kitchen counter ideas show how a little planning can give you real room to chop, stir, and plate dinner without moving five things first. I tested most of these in a tiny rental kitchen, and the change was instant.
In this list you will find prep zones that stay clear, covers that turn sinks and stoves into extra worktops, slim storage that uses walls and doors, and carts that roll away when dinner is done. I learned the hard way that buying more containers never fixed the mess, but giving every daily tool one clear home did. Whether you rent, share a flat, cook every night, or just want calmer mornings, these ideas work in real kitchens with limited space and a normal budget.
Clear Prep Zone

Keep one stretch of counter empty on purpose, even if it is only the width of two cutting boards. That empty patch becomes your landing spot for chopping, mixing, and plating, so you stop shuffling jars and mail out of the way every time you cook. Mark the zone with a single board that lives there, and return it after each meal.
The rule is simple: nothing parks in the prep zone except what you are using right now. When the zone stays clear, cooking feels faster and safer, because knives, hot pans, and bowls all have room. Start with the spot nearest your stove or sink, since that is where most prep naturally happens.
Butcher Block Station

- Place a heavy butcher block where you chop most often, so it stays put while you work.
- Keep only a knife, a scraper, and a small bowl beside it for scraps.
- Oil the board once a month to stop stains and keep the surface smooth.
- Slide it upright against the backsplash when you need the full counter back.
A dedicated board station stops you hunting for a board buried under other items. It also protects your counter from knife marks and gives vegetables a stable surface. Choose a board with a juice groove if you cut tomatoes or melons often, and wipe it down straight after use so it is ready for the next meal.
Tiered Tray Station
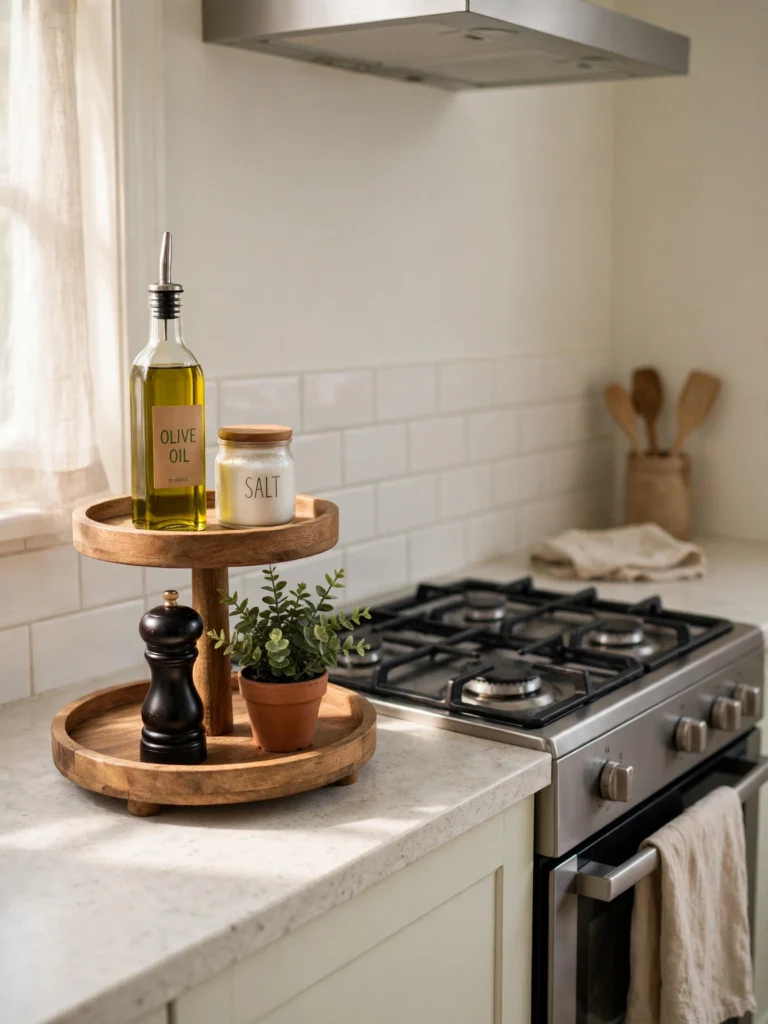
Quick Tip: Put only the five items you reach for daily on the tray, and store the rest in a cupboard.
A tiered tray gathers small bottles into one neat group instead of letting them spread across the counter. The raised levels make labels easy to read, so you grab oil or spices without knocking over a row of jars. It also makes cleaning simple, because you lift one tray to wipe the whole area underneath. Pick a tray that fits your corner and leaves room beside it for a board or a bowl.
Stove Cover Board

BEFORE: The stove top sat unused between meals, while the counter beside it overflowed with boards, bowls, and packets waiting for space.
AFTER: A fitted cover turns the closed stove into a flat extra worktop for prep, serving, or a coffee tray, and lifts off in seconds when you need to cook.
Only use a cover when the stove is cool and off, and never leave it over a hot burner. A board with handles is easiest to lift, and a heat resistant mat underneath protects the surface. This one change can add almost a whole extra counter in a tiny kitchen.
Magnetic Knife Strip
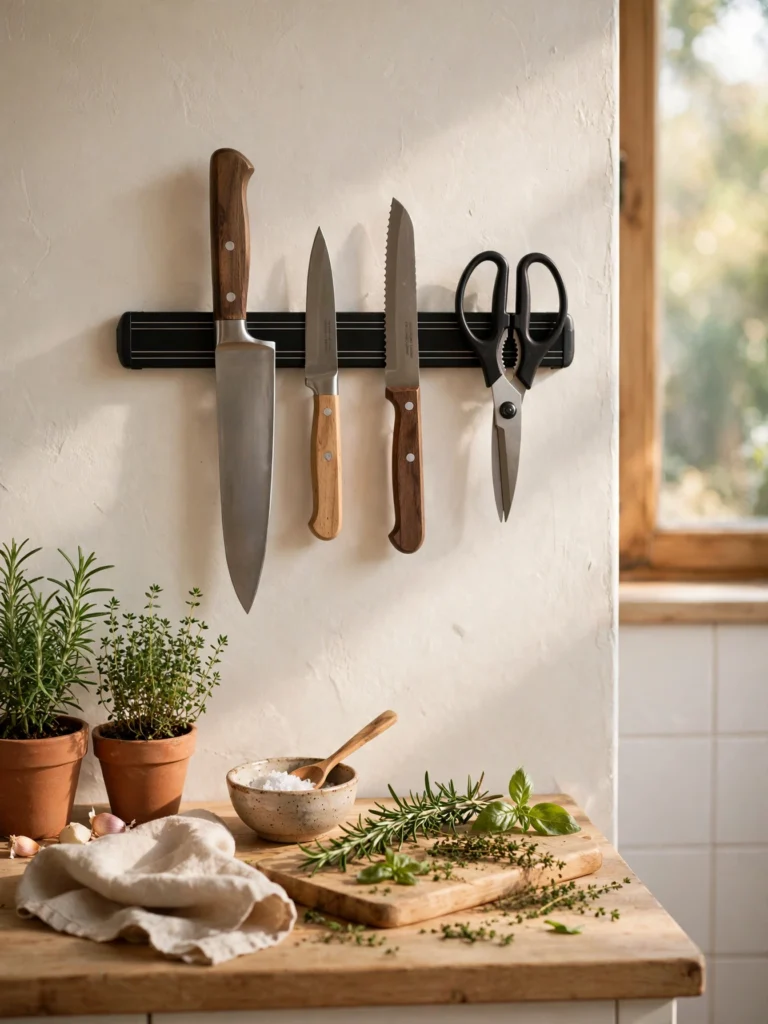
- Pick a wall spot above your prep area, away from steam and splashes.
- Mark the height so knife handles clear the counter below.
- Fix the strip with the screws or fixings supplied, checking it sits level.
- Hang knives with blades flat against the strip and handles easy to grip.
Moving knives off the counter frees a full block of space and keeps blades sharper than a crowded drawer. A wall strip also makes the right knife visible at a glance, so prep moves faster. Keep it out of reach of small children, and wipe blades before hanging them back.
Wall Rail Storage

| Option | Best for | Counter space saved |
|---|---|---|
| Short rail | Two or three daily tools | Small |
| Long rail | Pans and utensils | Large |
| Rail with shelf | Jars and small plants | Medium |
A wall rail moves bulky tools upward, where they are easy to see and grab. Hang only what you use weekly, or the rail becomes display clutter. Leave a gap between items so handles do not tangle, and keep heavy pans near the rail ends where fixings hold best. Wipe the rail during your weekly clean to stop grease building up.
Pull Out Shelf
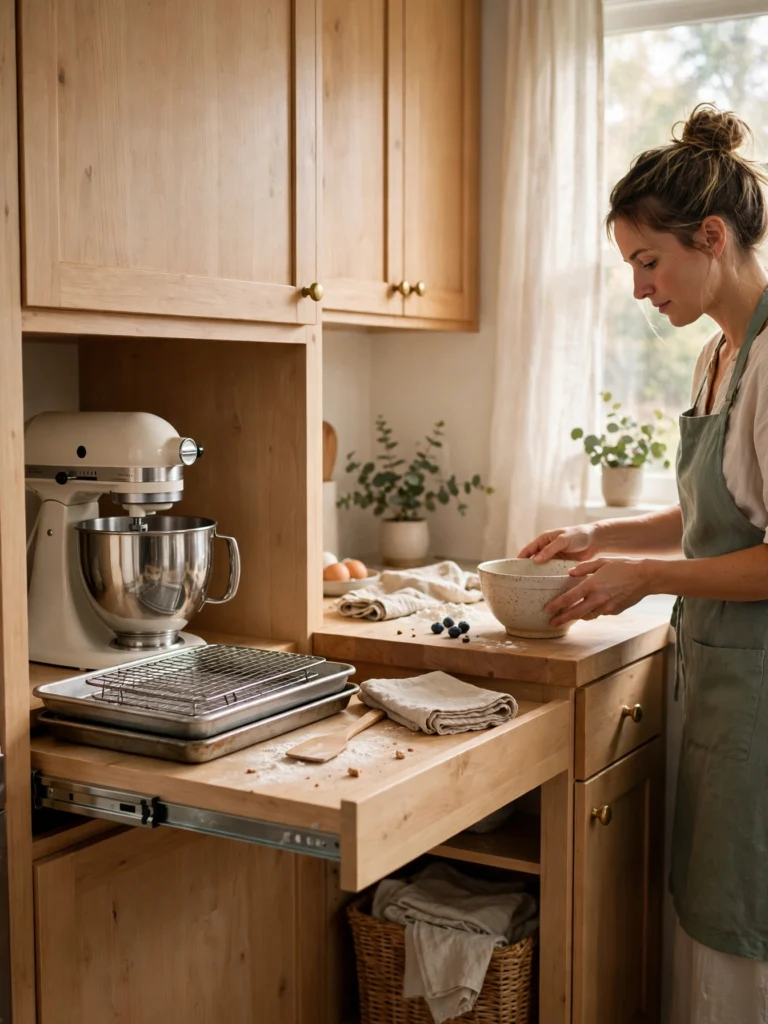
DO: Measure the cabinet opening before you buy a shelf kit. Store one heavy appliance on it, so lifting stays easy. Push it fully back after use to keep walkways clear.
DON’T: Overload it with items you rarely use. Leave it pulled out while children run through the kitchen.
A pull out shelf gives a mixer or food processor a home that does not eat counter space. You slide it out, work at counter height, and slide it away again. It also saves your back, since you no longer lift a heavy machine from a low cupboard. Check the weight limit on the kit, and keep the shelf clean so it glides smoothly.
Stackable Riser Shelves

Quick Facts: Cost: Low. Time: Ten minutes. Skill Level: Beginner. Best For: Renters and small cupboards.
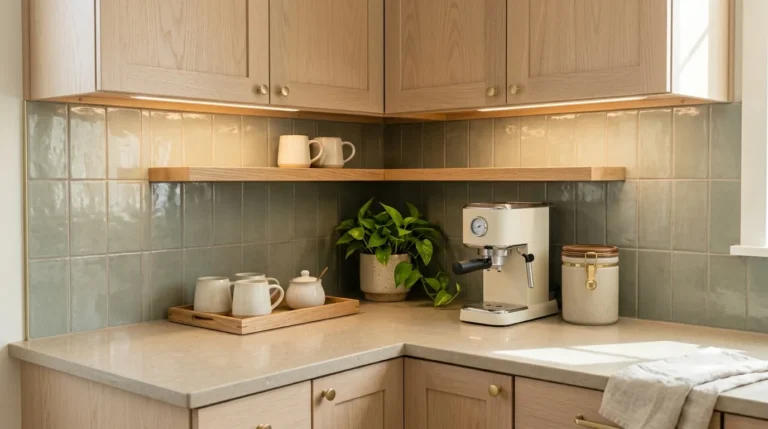
Risers add a second level inside a cupboard or on a counter corner, so mugs and jars stop hiding behind each other. Use them for items you reach for daily, and keep taller pieces on the lower level for stability. They work well beside a coffee machine or in a deep corner cupboard. Measure height first, since a riser that is too tall will block a shelf above it.
Sink Cover Board
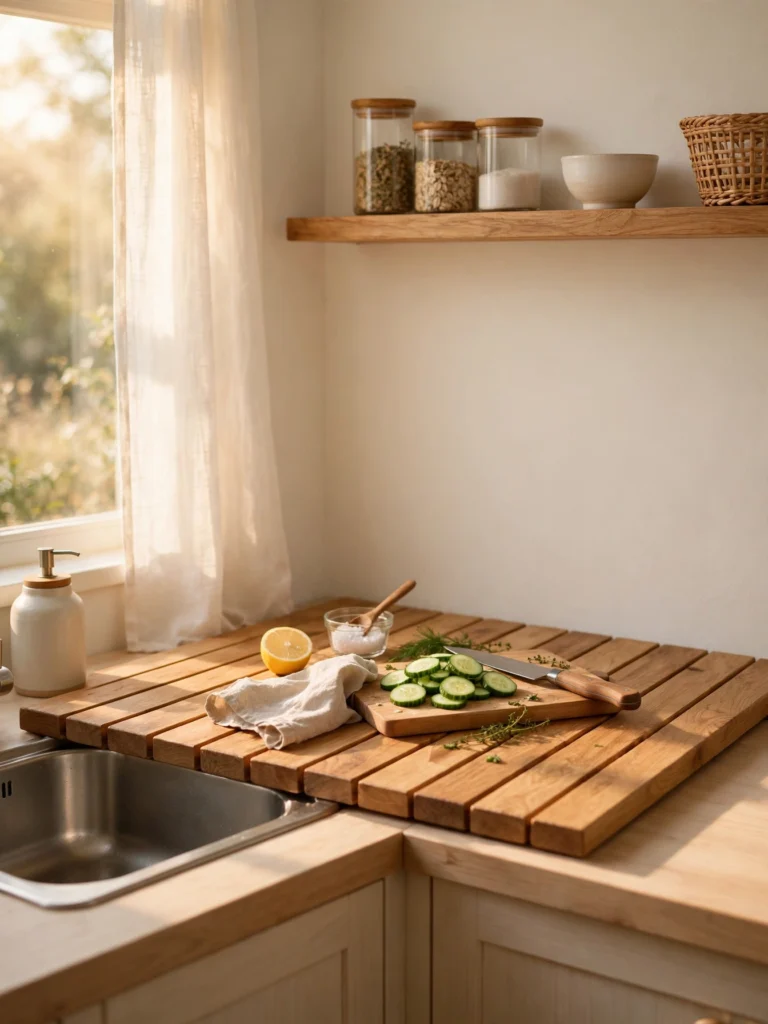
Keep the sink covered only when you need the space, and lift it off before washing up. A board that fits your sink exactly feels safe and steady, while a loose board can slip. Use it for dry prep like chopping vegetables or assembling sandwiches, and keep a small bowl nearby for peels. Wipe both sides after use, and store it upright beside the fridge or against a wall.
Choose a board with a handle cutout for easy lifting, and check that taps do not block it. In a very small kitchen this trick can double your prep area during the busiest part of cooking. It also hides a sink full of soaking pans when guests drop by unexpectedly.
Corner Turntable Station

- Spin to find the bottle you need without moving a whole row.
- Group oils together and sauces together for faster cooking.
- Wipe the base weekly so sticky drips do not glue jars down.
- Keep the turntable low so tall bottles stay stable.
Corners waste space because items at the back get forgotten. A turntable fixes that with one spin, and it stops you buying a second bottle of something you already own. Pick a non slip base and a size that leaves room for a board beside it. This works on counters and inside deep corner cupboards alike.
Appliance Garage Nook

Quick Tip: Keep only appliances you use at least three times a week inside the garage, and store the rest elsewhere.
An appliance garage hides toasters, kettles, and blenders behind a door, so the counter looks calm even when the machines stay plugged in. It works best in a corner or at the end of a run of units, where the door can open fully. Leave room for steam to escape, and wipe inside often, since crumbs and moisture gather fast. If you have no built in garage, a tall lidded basket or a small cabinet can give the same tidy effect.
Slim Spice Rack

BEFORE: Spice jars filled a whole shelf and half the counter, and cooking meant searching through rows of near identical bottles.
AFTER: A slim rack lines jars up in one visible row, so you find cumin or paprika in seconds and the rest of the counter stays free for prep.
A narrow rack fits gaps as small as a few inches, including the space beside a stove or fridge. Label the lids as well as the sides, since you often look down at jars from above. Keep spices away from direct heat and steam, and refill from larger packs stored in a cupboard. A tidy spice row also makes weeknight cooking feel less rushed.
Over Sink Dishrack

- Measure your sink width and depth before ordering a rack.
- Choose a rack with a drip tray or sloped bars over the sink.
- Set plates upright so air can reach both sides.
- Empty the rack once dishes are dry to keep the sink usable.
An over sink rack frees the drying mat that used to cover half your counter. Dishes dry faster with air all around them, and the sink still works for rinsing while items drip. Keep the rack for everyday plates and cups only, and put large pots away by hand so the rack never becomes permanent storage.
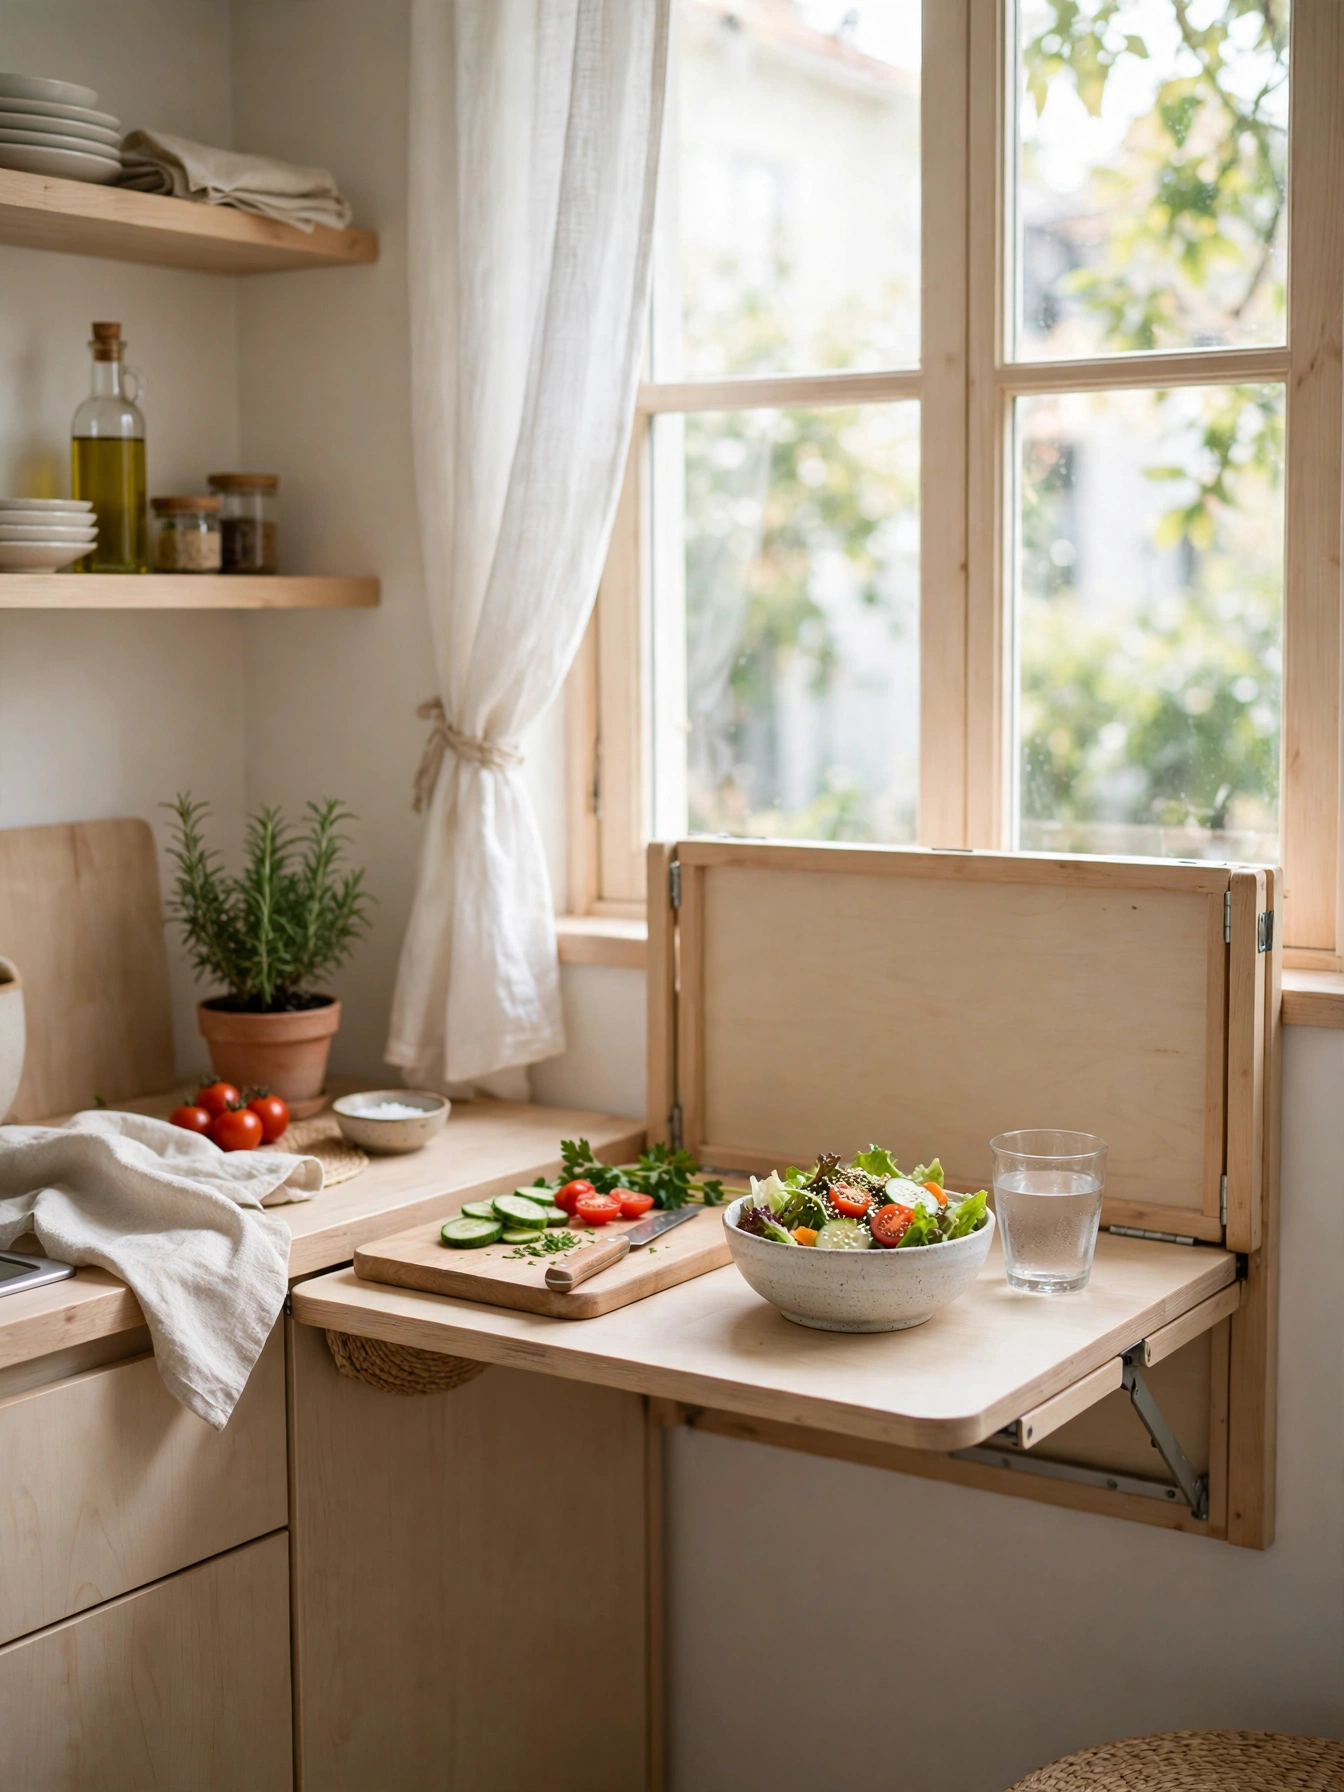
Fold Down Table
| Option | Best for | When to fold away |
|---|---|---|
| Small wall table | Solo prep and breakfast | After each meal |
| Wide wall table | Two cooks or baking | When you need floor space |
| Table with brackets | Heavier mixing jobs | Overnight |
A fold down table adds prep space only when you need it, then disappears against the wall. It suits galley kitchens and studios where a fixed island would block the walkway. Fix it into studs or solid wall, not just plaster, and test the brackets with a heavy bowl before you trust it. Pair it with a stool that tucks underneath for a quick breakfast spot.
Pegboard Tool Wall

DO: Hang tools you use weekly, where you can reach them without a step stool. Use hooks rated for the weight of pans and heavy tools. Leave breathing room between items so nothing tangles.
DON’T: Fill every hole just because it is there. Hang sharp tools where sleeves or hair can catch them.
A pegboard turns a blank wall into storage without a single new cupboard. You can move hooks as your cooking changes, which suits renters who want flexible storage. Paint the board to match your walls for a calm look, or leave natural wood for warmth. Keep a small shelf on the board for items that cannot hang.
Under Cabinet Hooks
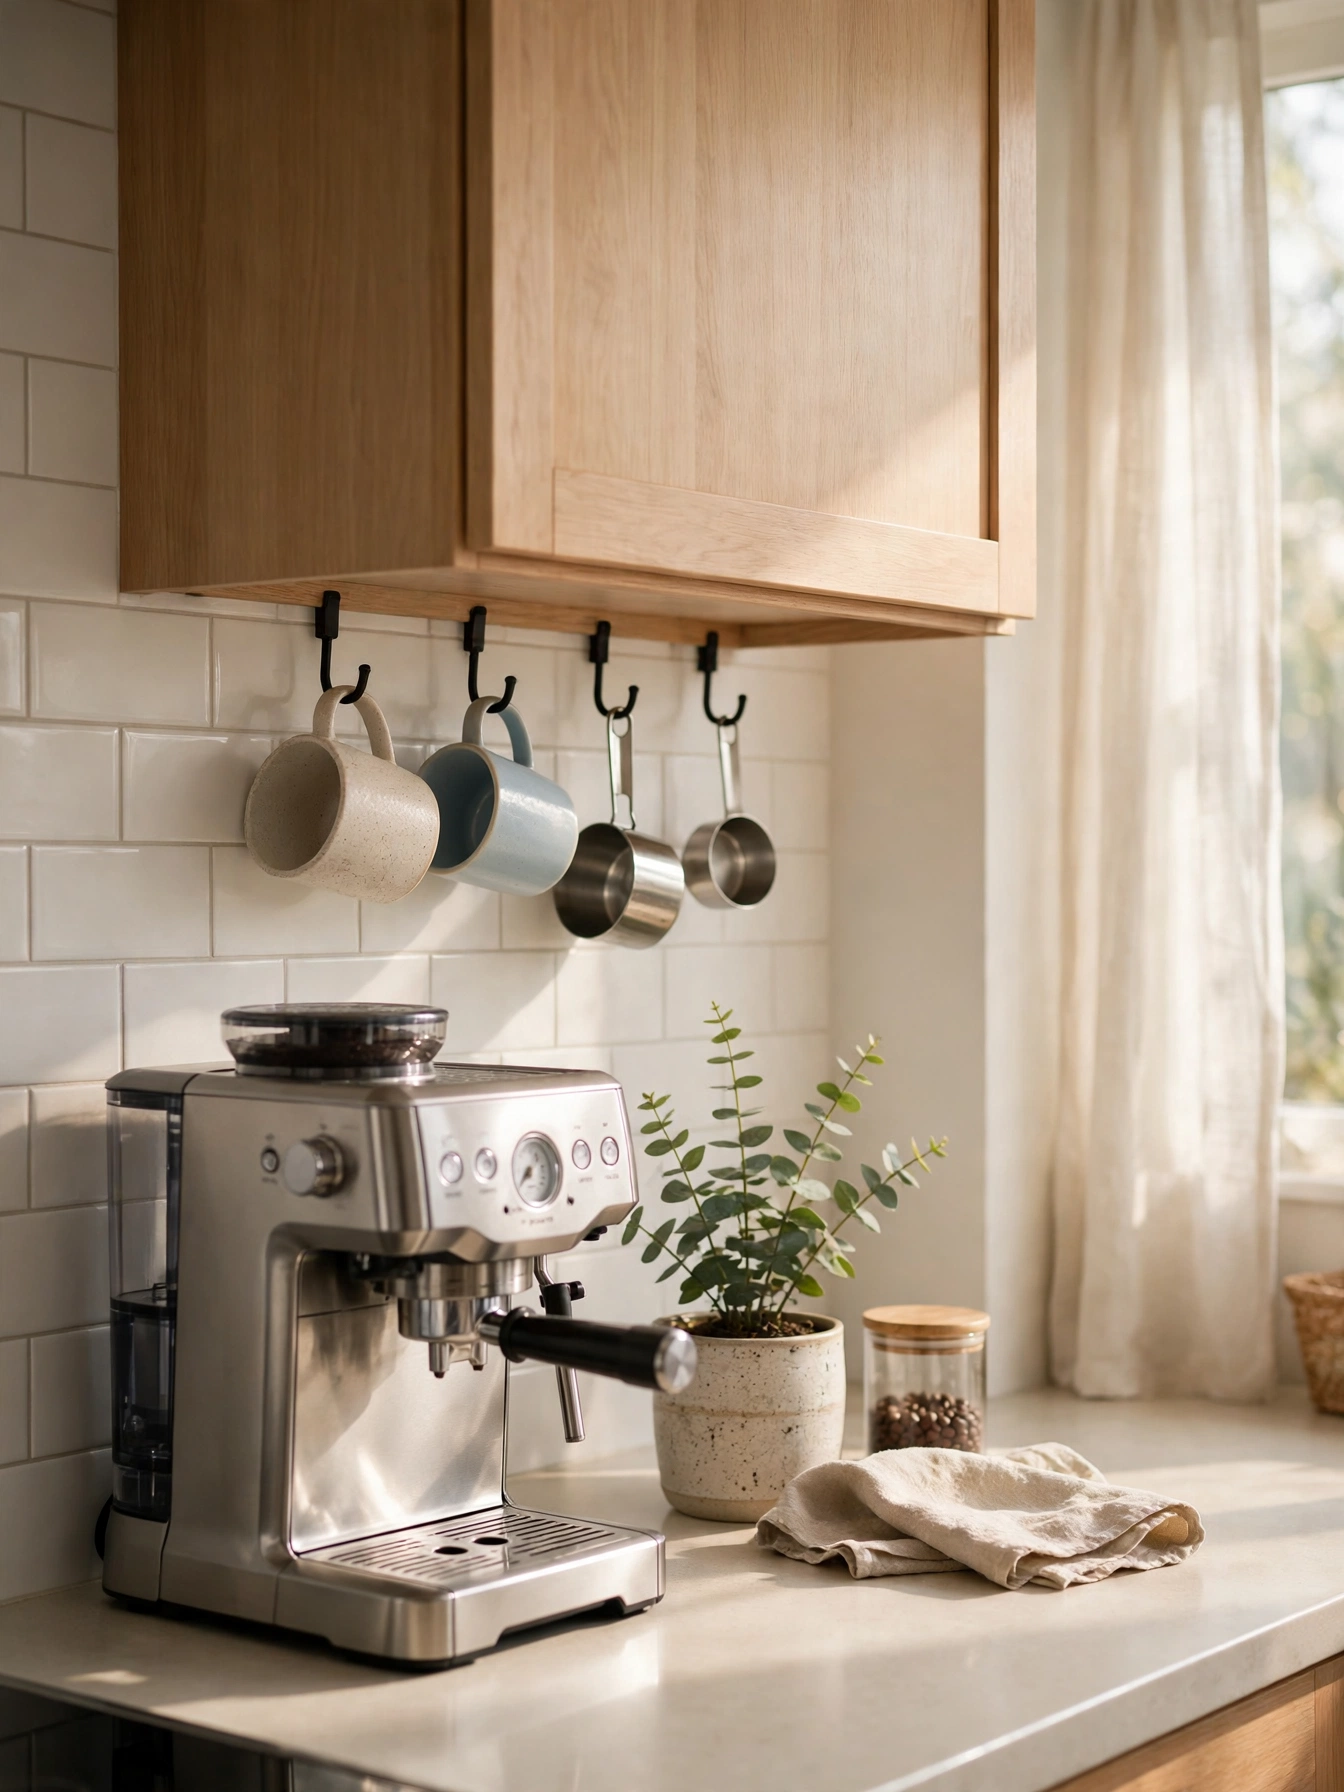
Quick Facts: Cost: Very low. Time: Fifteen minutes. Skill Level: Beginner. Best For: Coffee lovers and mug collectors.
Hooks under a cabinet use dead space that usually holds nothing. Mugs hang where you make coffee, and measuring cups hang where you bake, so you stop digging through drawers. Use adhesive hooks for rentals, and screw in hooks for heavier mugs. Space them so cups do not knock together, and keep them clear of the stove where steam can damage wood handles.
Rolling Island Cart

A rolling cart is a prep table, a serving trolley, and extra storage in one. Roll it beside the stove while you cook, then push it against a wall or into a gap when dinner is done. Lock the wheels while chopping so the cart stays steady, and keep the top clear for work. Baskets below hold towels, onions, or baking trays without adding cupboards. Choose a cart that fits your doorways and gaps, and check its height matches your counter for comfortable work.
A cart also helps when guests visit, since you can load drinks or plates and wheel them to the table. Wipe the top after use, and keep heavy items low so the cart never tips. In a rental, it is one of the easiest ways to gain counter space without any building work.
Prep Bowl Nest
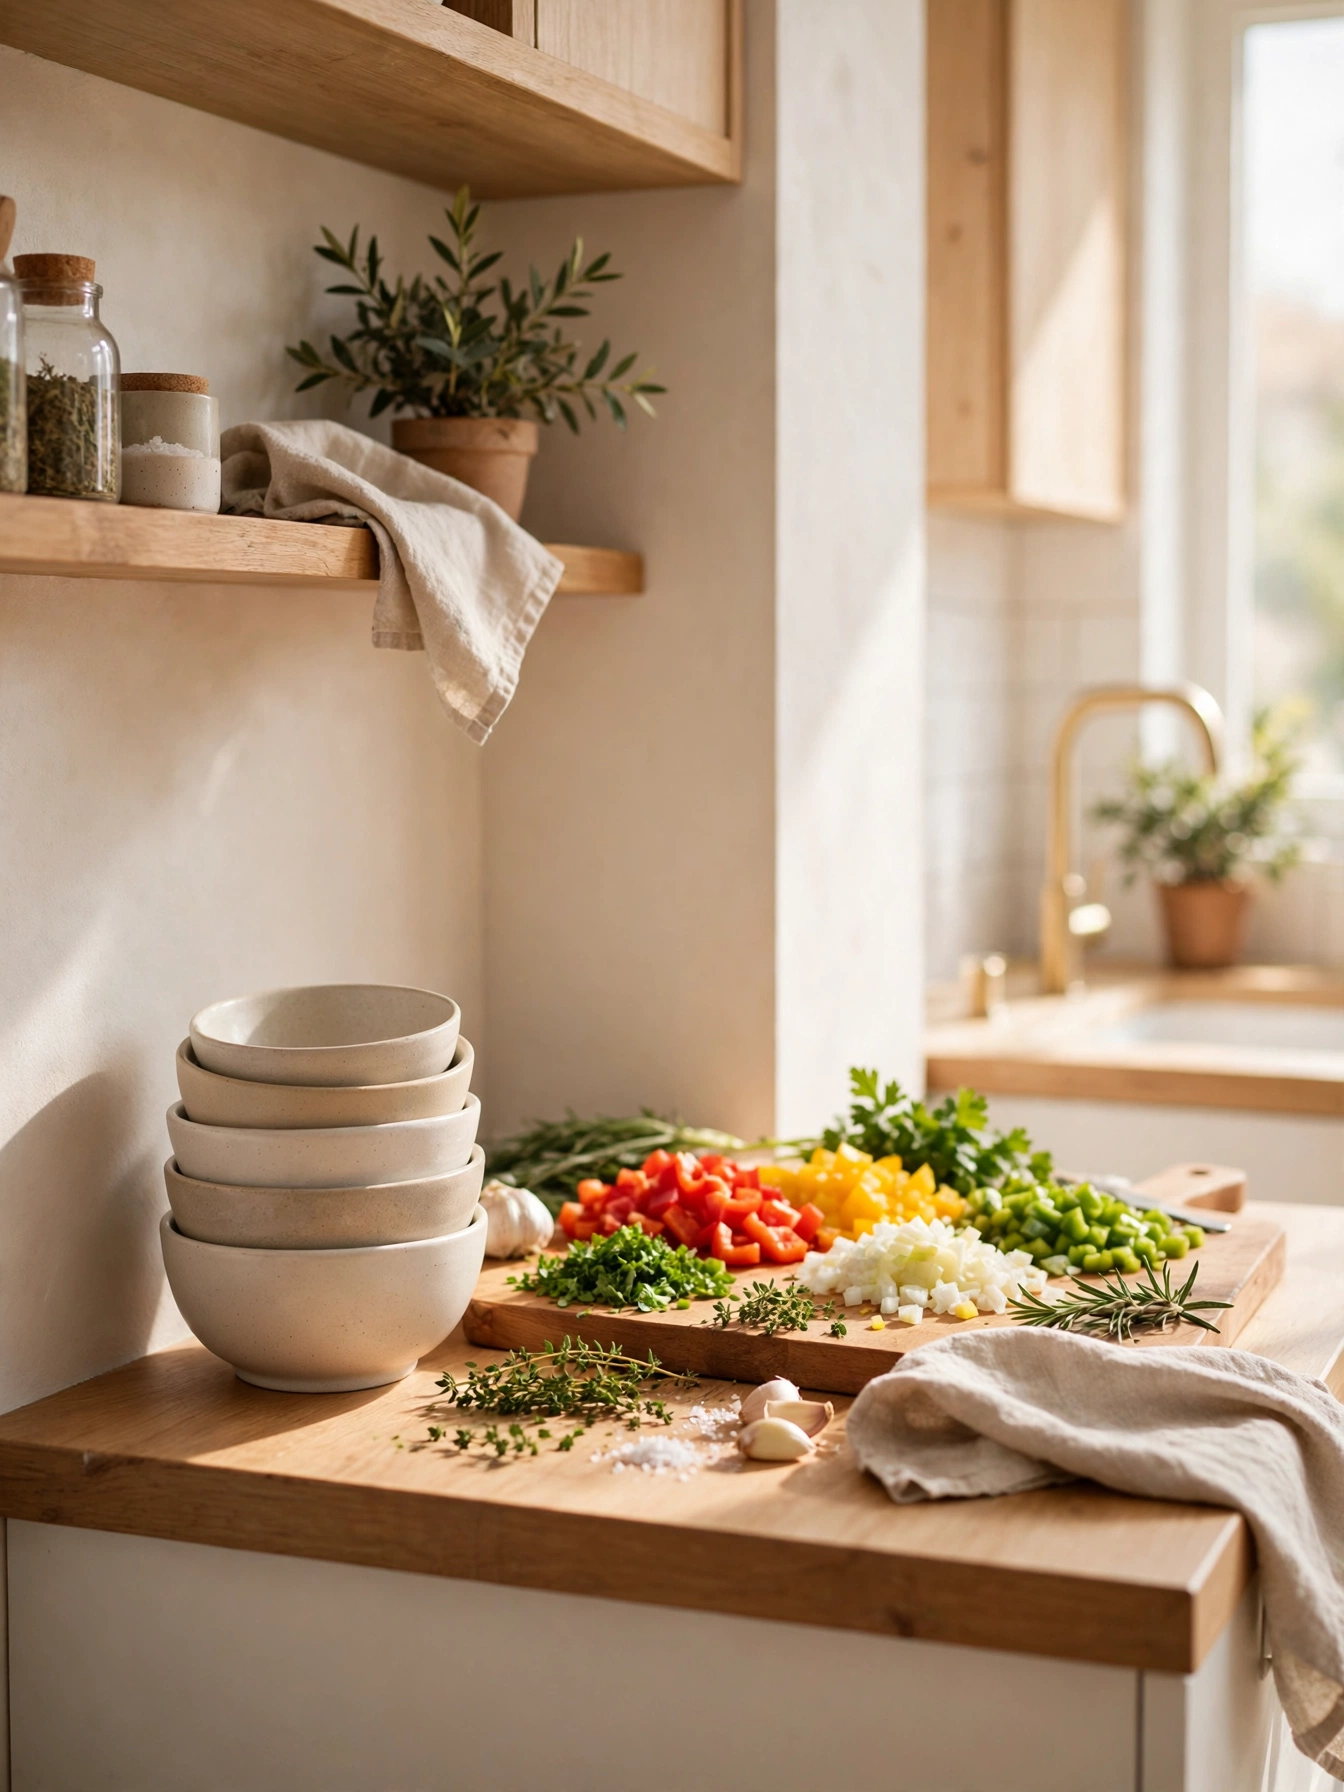
- Chop all vegetables before you turn on the heat.
- Put each ingredient in its own small bowl.
- Stack empty bowls as you cook to free space.
- Wash bowls with the cooking pans at the end.
Small bowls keep prep tidy and stop chopped food spreading across the counter. When everything is measured and ready, cooking feels calm instead of rushed. A nesting set stores in the space of one large bowl, which matters in a small kitchen. Use glass bowls so you can see contents at a glance, and keep a spare bowl for scraps to save trips to the bin.
Vertical Lid Organizer

Quick Tip: Store lids upright in a drawer or on a rack, and match each lid to its pot before you put it away.
Lids cause chaos because they slide, stack badly, and never fit the pot you grab. Standing them upright in slots solves that, and frees the drawer or cupboard where they used to pile up. It also protects glass lids from chips. Measure your largest lid before buying an organizer, and keep it near the stove so you reach it mid cook without crossing the kitchen.
Chopping Board Slots

BEFORE: Boards leaned in a pile against the backsplash, sliding over and blocking the counter behind them.
AFTER: Upright slots in a cabinet or a rack keep each board separate, visible, and easy to pull out with one hand.
Board slots use thin gaps that hold nothing else, such as the space beside a fridge or inside a tall cabinet. They also help boards dry fully, since air reaches both sides. Sort boards by use, for example vegetables, bread, and meat, and wash them straight after cooking. A simple tension rack can create slots inside an existing cupboard with no tools at all.
Herb Rail Garden

- Pick a sunny wall spot near a window, away from the stove heat.
- Hang small pots with drainage holes on a sturdy rail.
- Plant herbs you cook with most, such as basil and parsley.
- Water lightly and snip often to keep plants bushy.
Fresh herbs on a rail add flavour and colour without taking counter space. Snipping leaves while you cook beats opening packets, and the plants make the kitchen feel alive. Keep pots light so the rail stays safe, and place a tray below to catch drips. If light is low, choose hardy herbs like mint and chives, and rotate pots weekly for even growth.
Drawer Divider System

| Option | Best for | Cost |
|---|---|---|
| Adjustable dividers | Changing utensil sets | Low |
| Bamboo tray insert | Everyday cutlery and tools | Medium |
| Custom dividers | Odd sized drawers | Higher |
Dividers stop utensils sliding into one tangled pile, so you find a peeler without emptying the drawer. They also free counter space, since tools that once sat in a crock now have a drawer home. Measure the drawer first, and leave one section empty for new tools. Clean dividers monthly, since crumbs gather in corners fast, and move rarely used gadgets to a higher cupboard.
Counter Compost Caddy

DO: Empty the caddy daily to stop smells. Line it with newspaper or a compostable bag. Keep it beside your prep zone, not across the kitchen.
DON’T: Put meat, dairy, or oily food in a home compost caddy. Leave it open, since fruit flies find it fast.
A small caddy keeps peels off the counter and saves repeated trips to the outside bin while you prep. It also makes cleaning faster, because scraps go straight into one spot instead of piling beside the board. Choose a caddy with a tight lid and a handle, and wash it with hot soapy water often. If you have no compost collection, use it for scraps you take out after each meal.
Clear Container Pantry
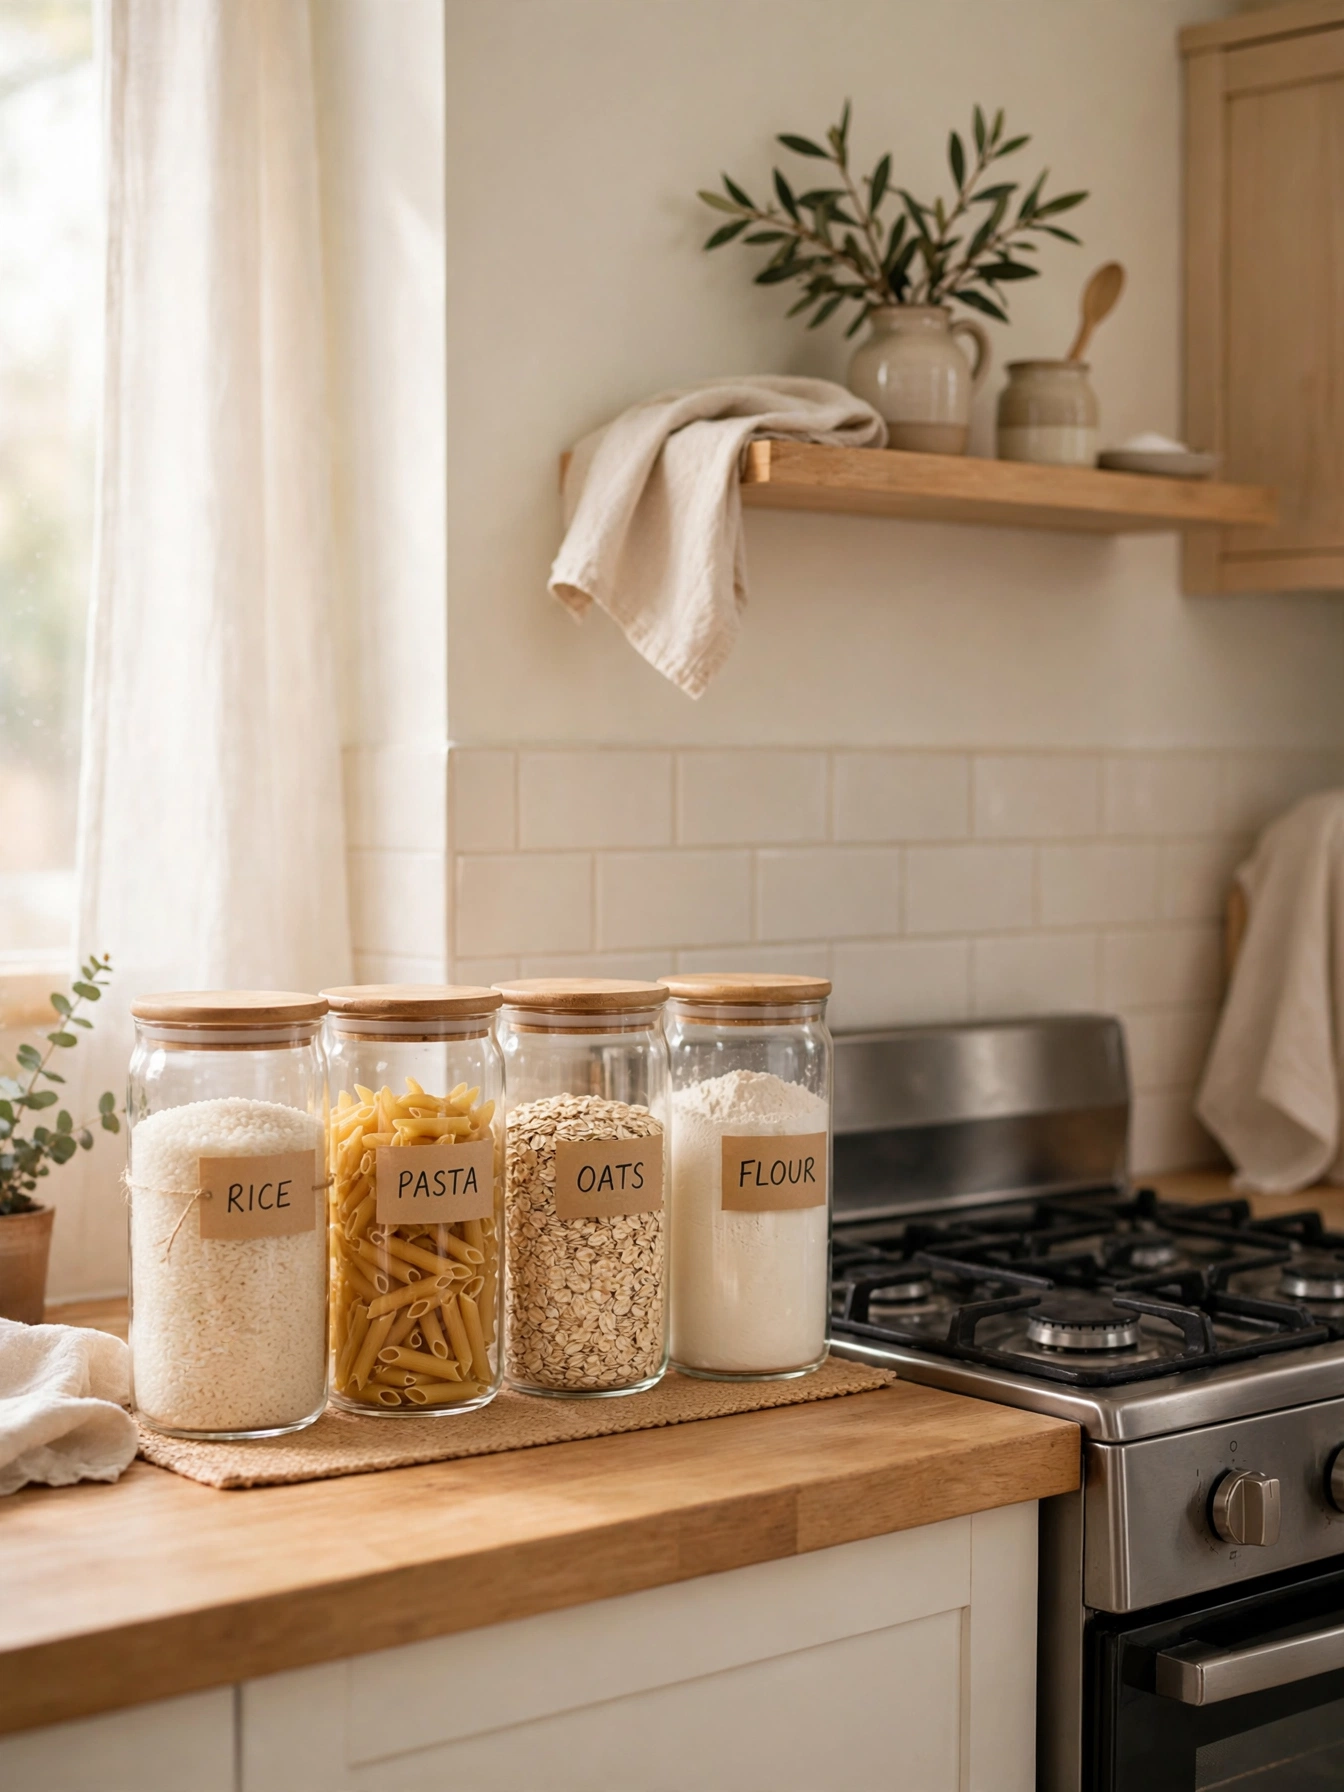
Quick Facts: Cost: Medium. Time: One afternoon. Skill Level: Beginner. Best For: Bulk buyers and keen bakers.
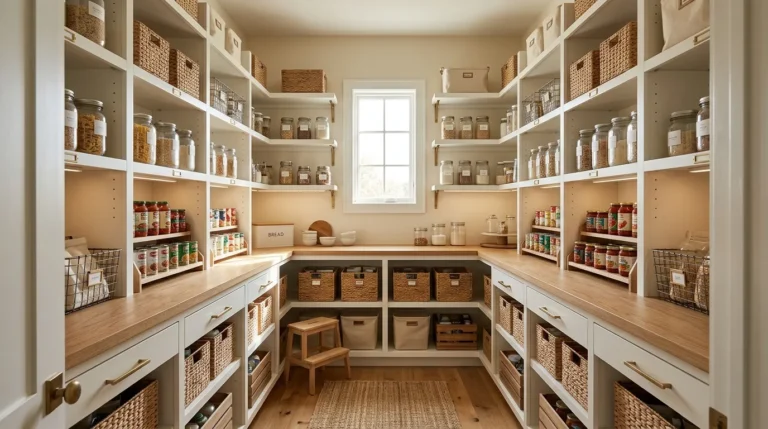
Clear containers let you see exactly how much rice, pasta, or flour you have left, so shopping gets easier and stale packets stop hiding at the back. Decant dry goods when you unpack shopping, label each jar, and keep daily items at the front of a cupboard. Square containers waste less space than round ones, and airtight lids keep food fresh longer. Keep only a few jars on the counter itself, and store the rest away, or the tidy look turns into clutter again.
Conclusion
These small kitchen counter ideas all share one simple lesson: clear space beats more storage. When every tool has a home, prep becomes quicker, cooking feels calmer, and even a tiny kitchen can handle a full family dinner without stress, even on the busiest weeknights at home.
I still remember the week I cleared one single stretch of counter and stopped stacking things there, and it changed how I cook every day. Start with that one clear zone today, then add a rail, a rack, or a cart when you need it. Save this post to Pinterest and share it with a friend whose counters need the same reset.